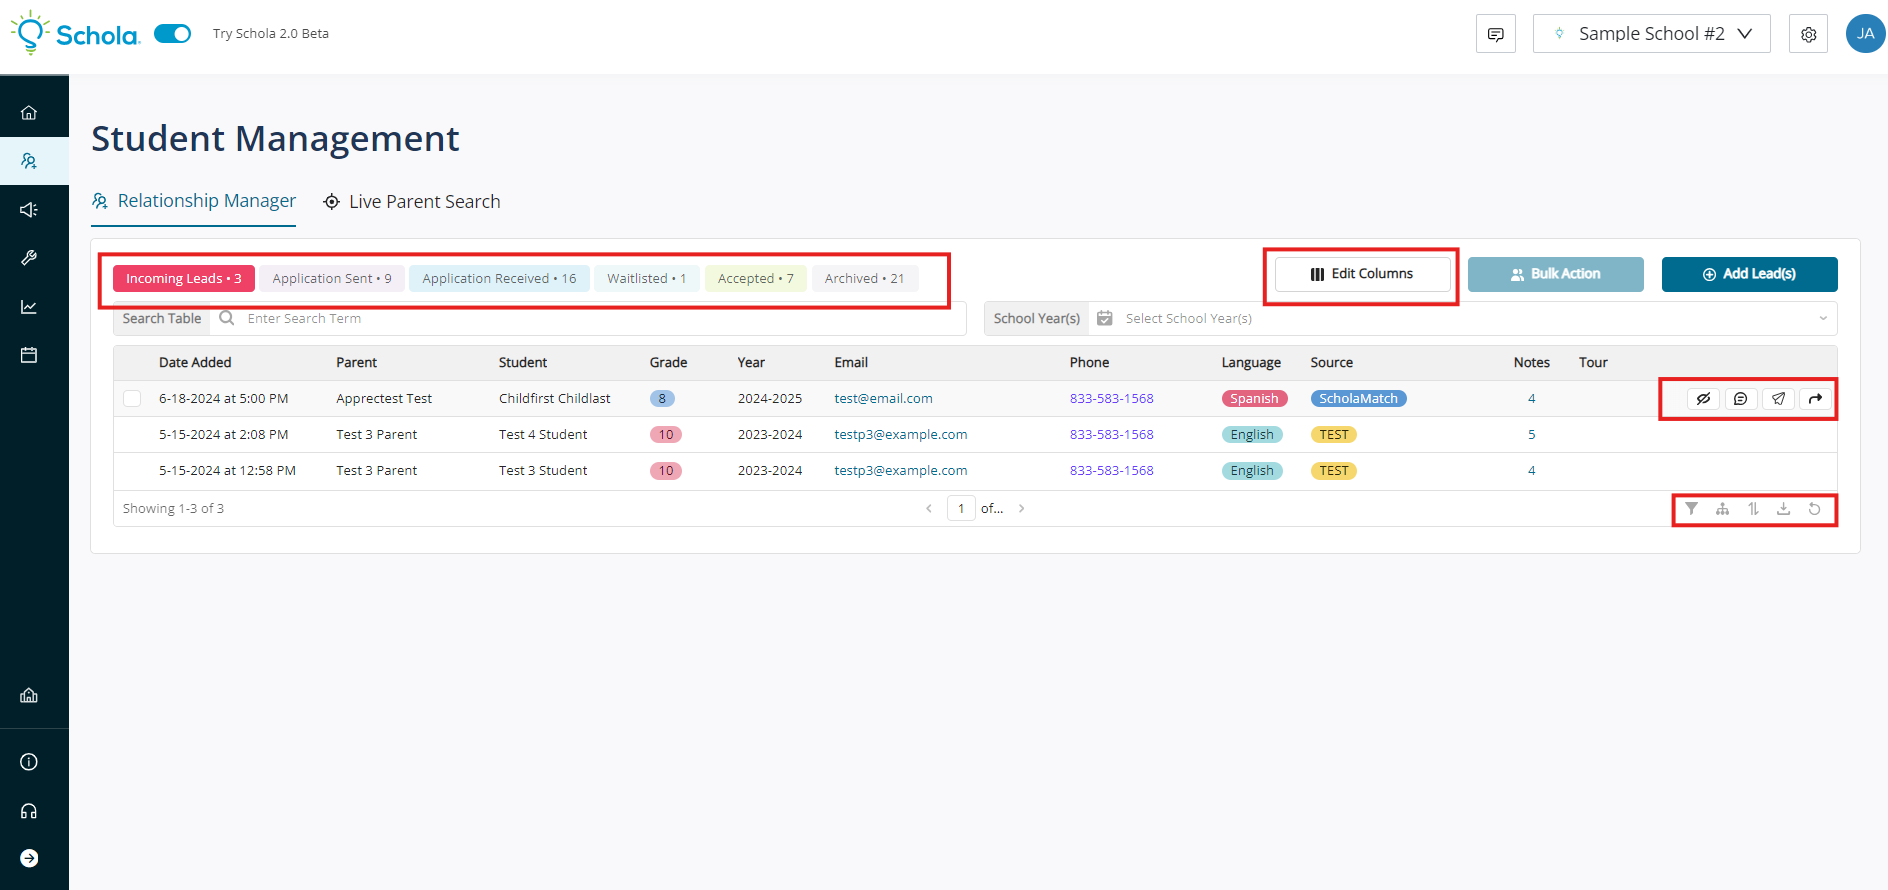
Schola serves as your primary hub for recruitment efforts, and one of its key features is the school’s Relationship Manager. This is where all your leads are stored and organized, helping you stay on top of your recruitment process.
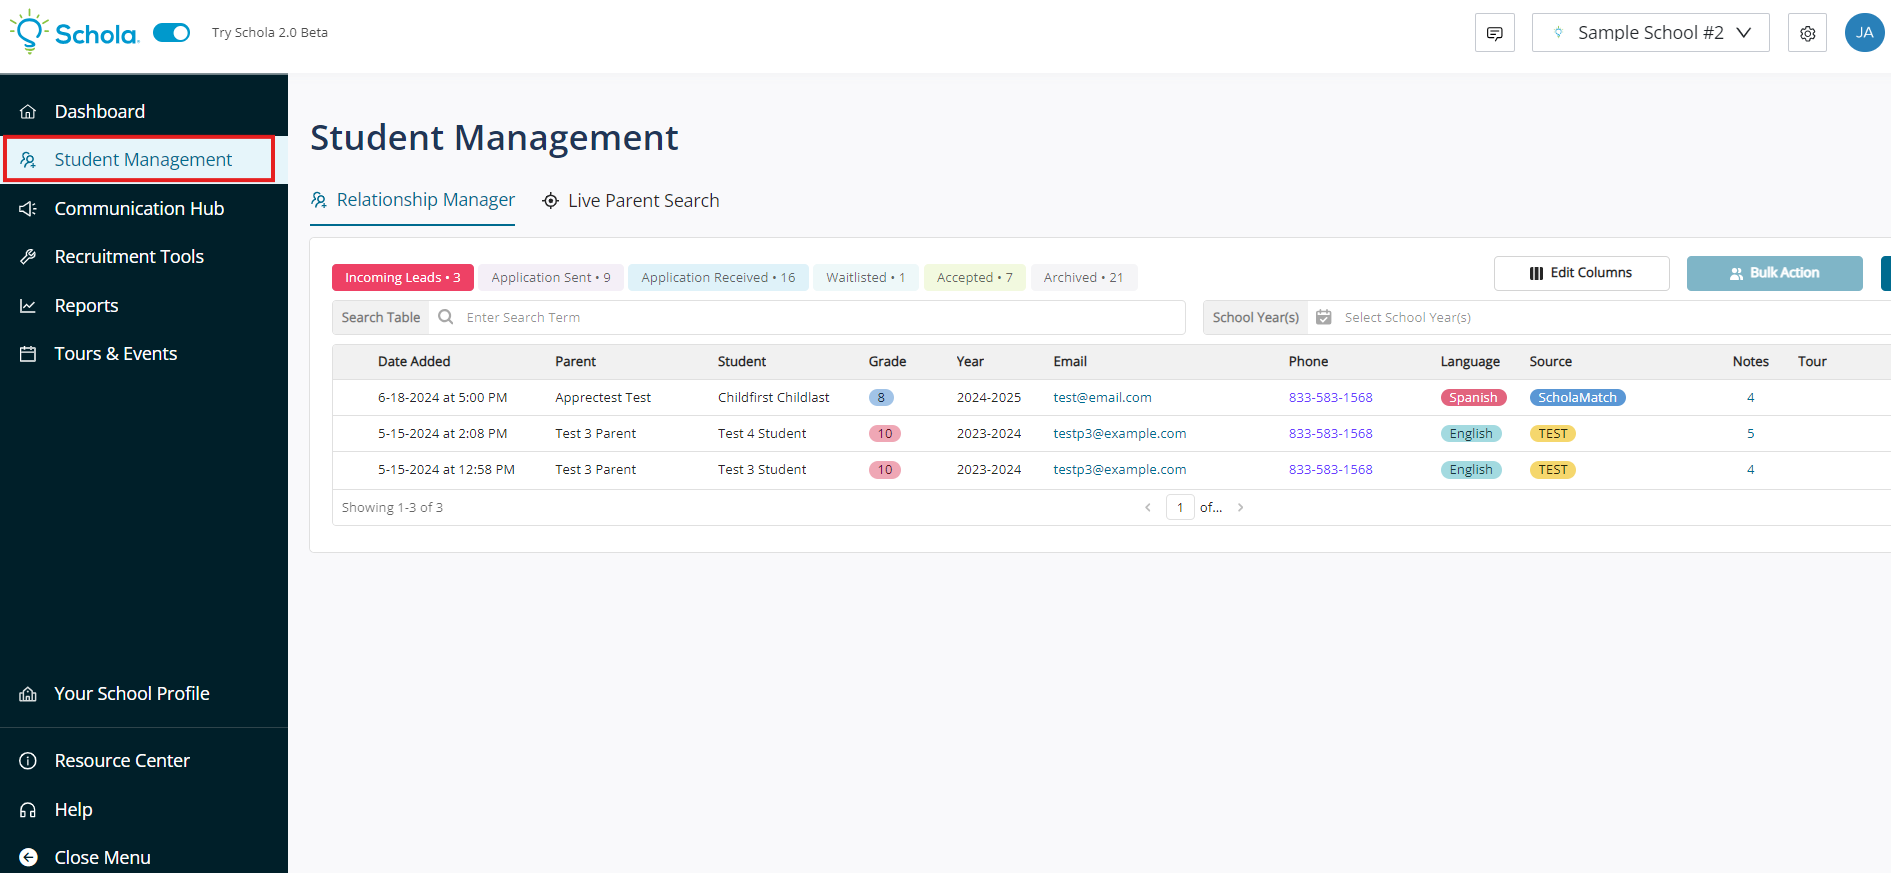
You can access the Relationship Manager by navigating to the left-hand side of your Schola dashboard and selecting Student Management.
Check out the quick tutorial video below for a walkthrough, and continue reading further articles in the Relationship Manager section for more details on how to use each feature!
Understanding Lead Stages
The Relationship Manager categorizes leads into various stages based on their status. These stages include:
- Incoming
- Application Sent
- Application Received
- Waitlisted
- Accepted
- Archived
To learn more about these stages, check out our detailed guide.
Customizing Your View
Tailor the Relationship Manager to suit your needs by adjusting the columns you see. Simply click on the Edit Columns button on the left-hand side of the screen. To learn more about customizing your Relationship Manager, check out our detailed guide here.
While customizing columns is optional, it can significantly streamline your view to ensure you're focusing on the information that matters most.
Taking Action on Leads
Each lead comes with multiple action buttons. Hover over the lead in the Relationship Manager to access these options, which appear on the right side of each lead. Learn more about working with leads with our detailed Lead Guide.
Grouping and Filtering
If you want to group or filter your leads for a more targeted approach, you can do so by using the tools at the bottom right of the Relationship Manager. You can also refresh your Relationship Manager view to ensure all lead data is up to date. Learn more with our comprehensive resource here.