The Schola Relationship Manager is a comprehensive database. With that comes thorough search, sort, and filter capabilities for working with leads and their data.
This is helpful for understanding groups of leads, trends, and making bulk edits.
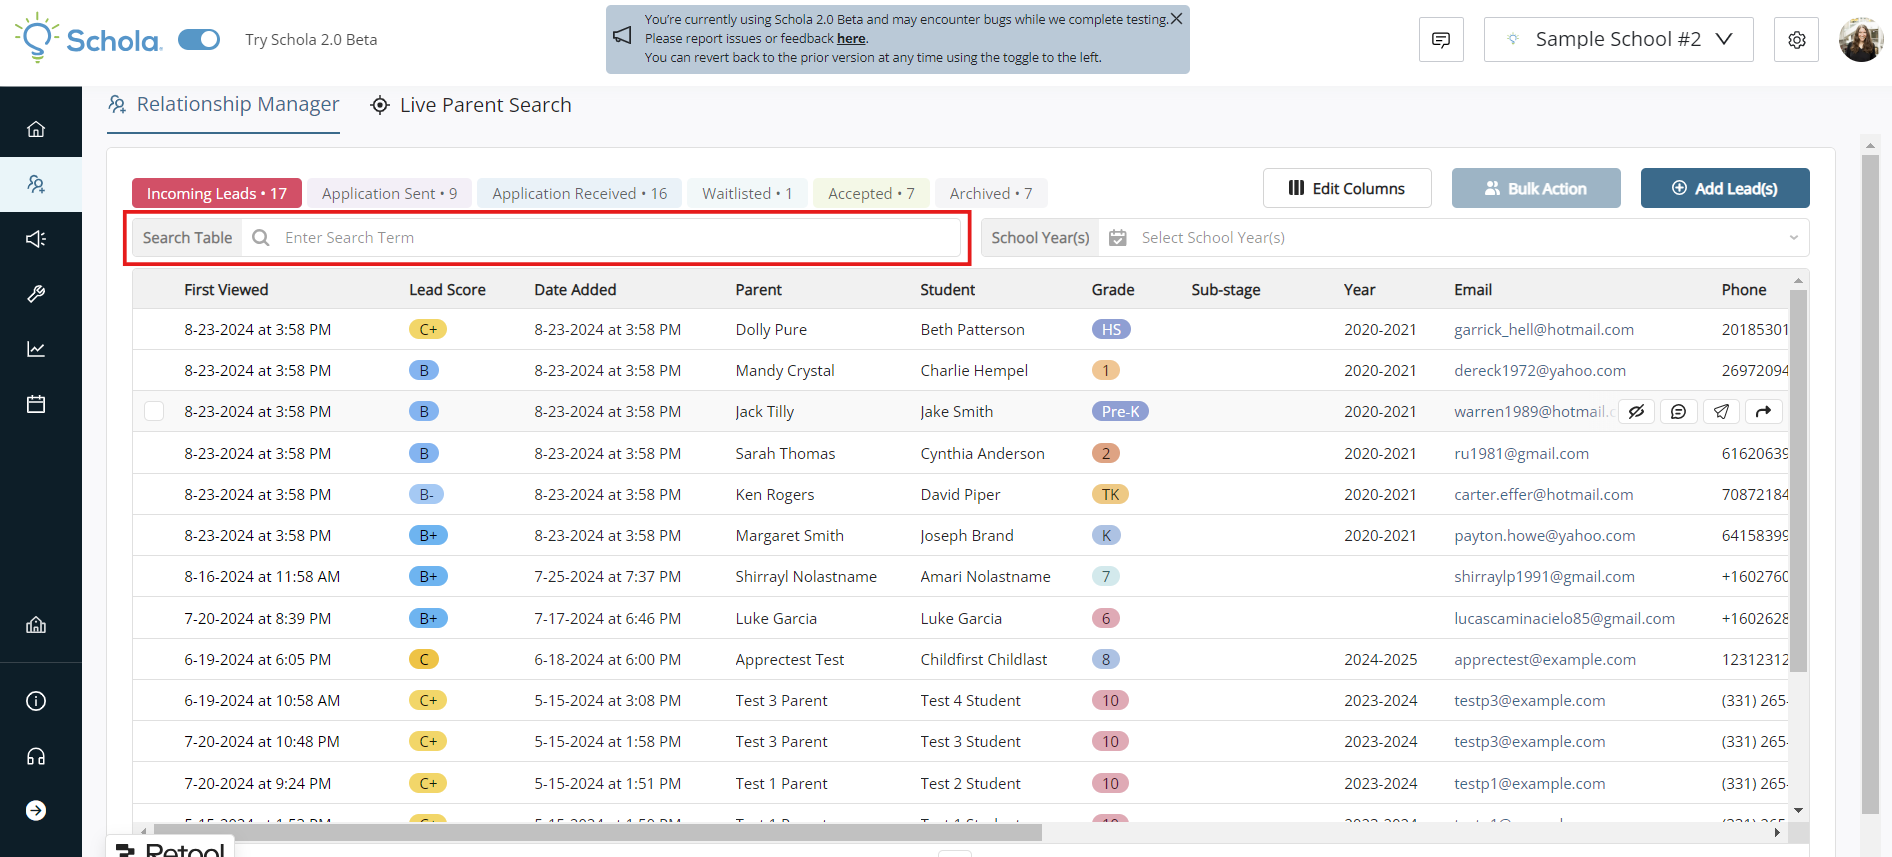
Searching
You can search for any term within the Relationship Manager by entering your search term into the field at the top left of the database. As you start typing, you'll start to see corresponding Leads filter through based on your search term.
You can also search for the same term in each Stage Tab by clicking through those tabs.
Simply delete your search term and all Leads will show up again.
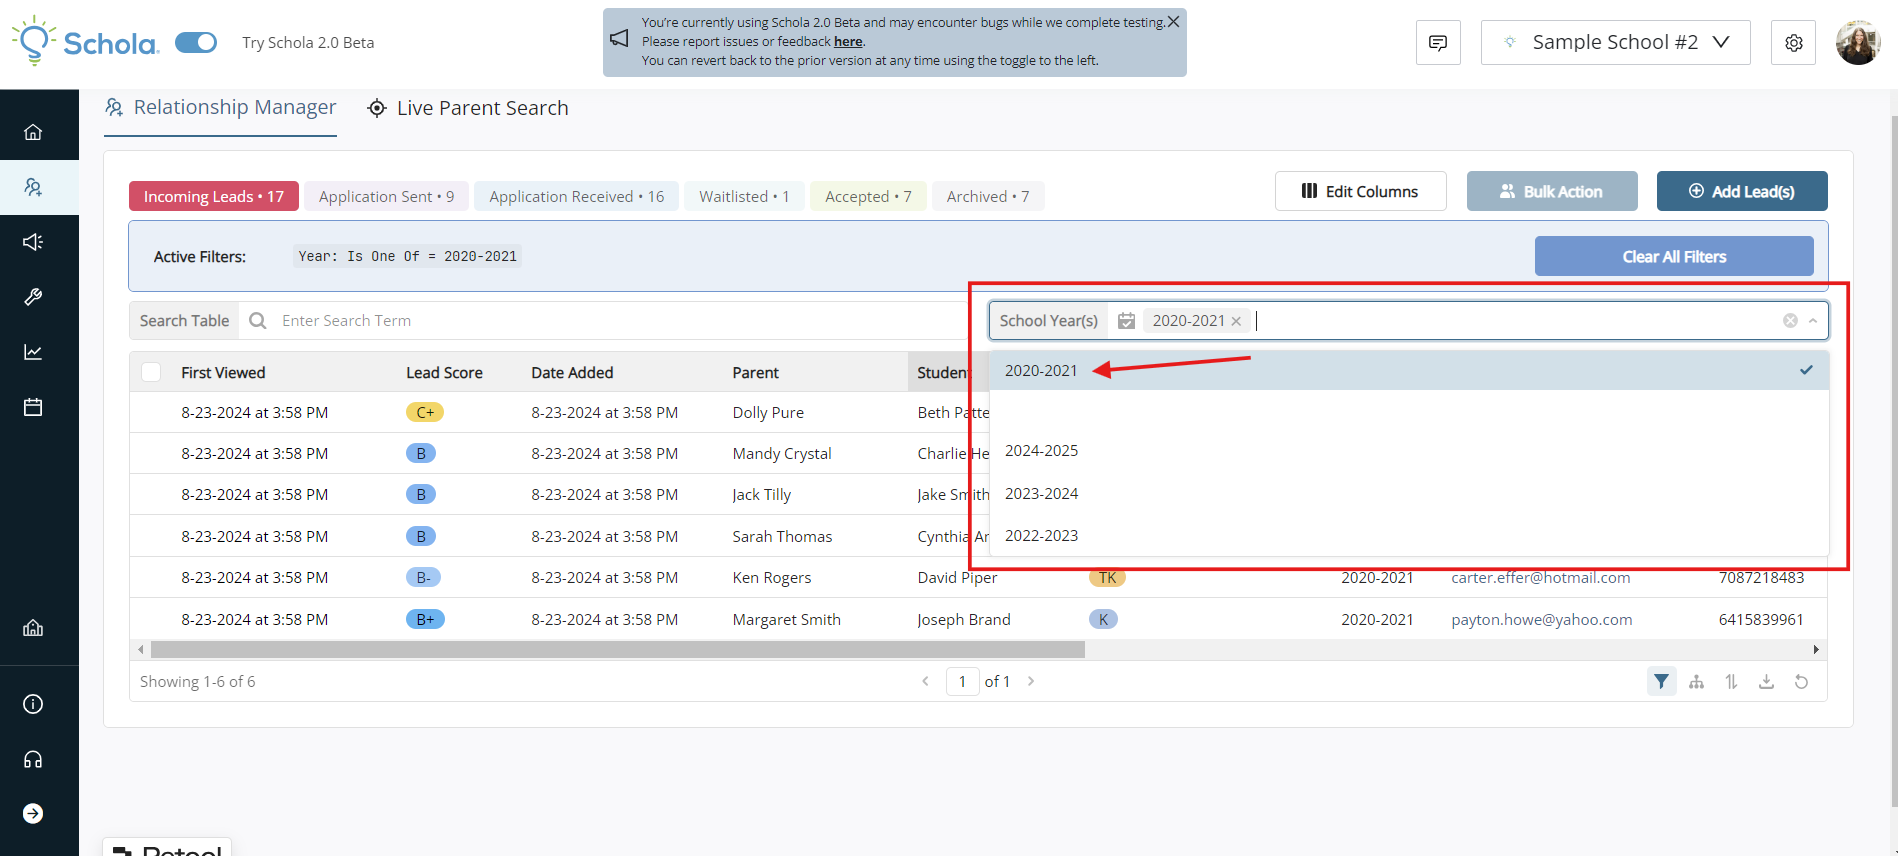
Filtering
You can easily filter by School Year by clicking the School Year(s) field in the top right of the database. Here, you'll see options for any school years included in Lead records within your Relationship Manager. You can also select multiple school years at a time.
Click the Clear All Filters Button to view all your Leads again.
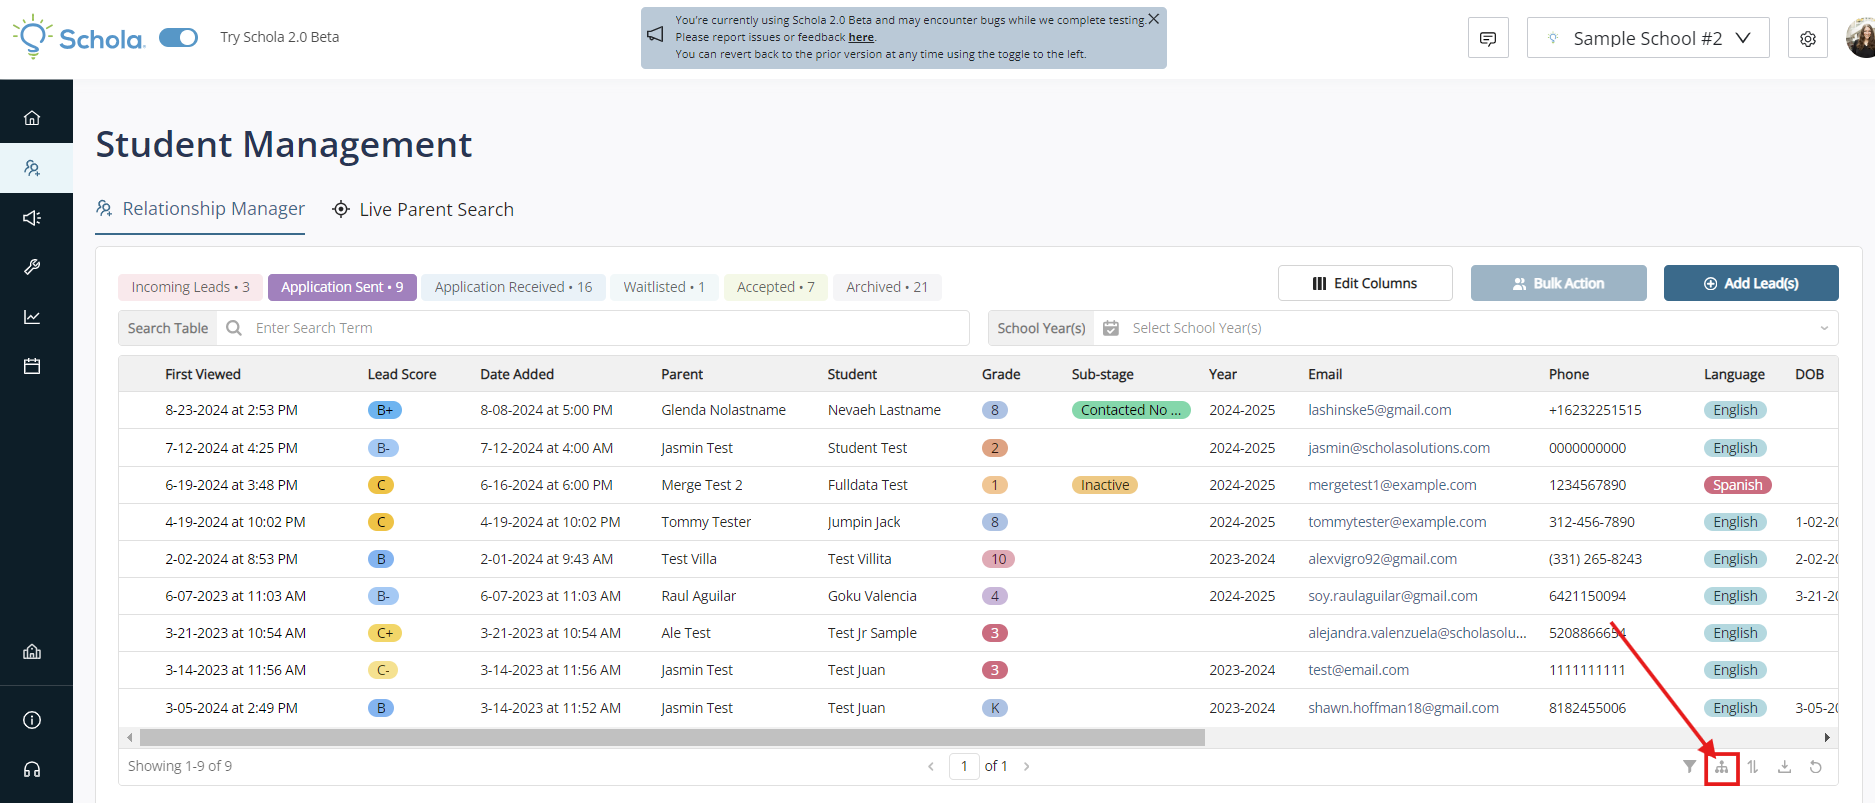
To filter more granularly, click the Filter icon at the bottom right of the database.
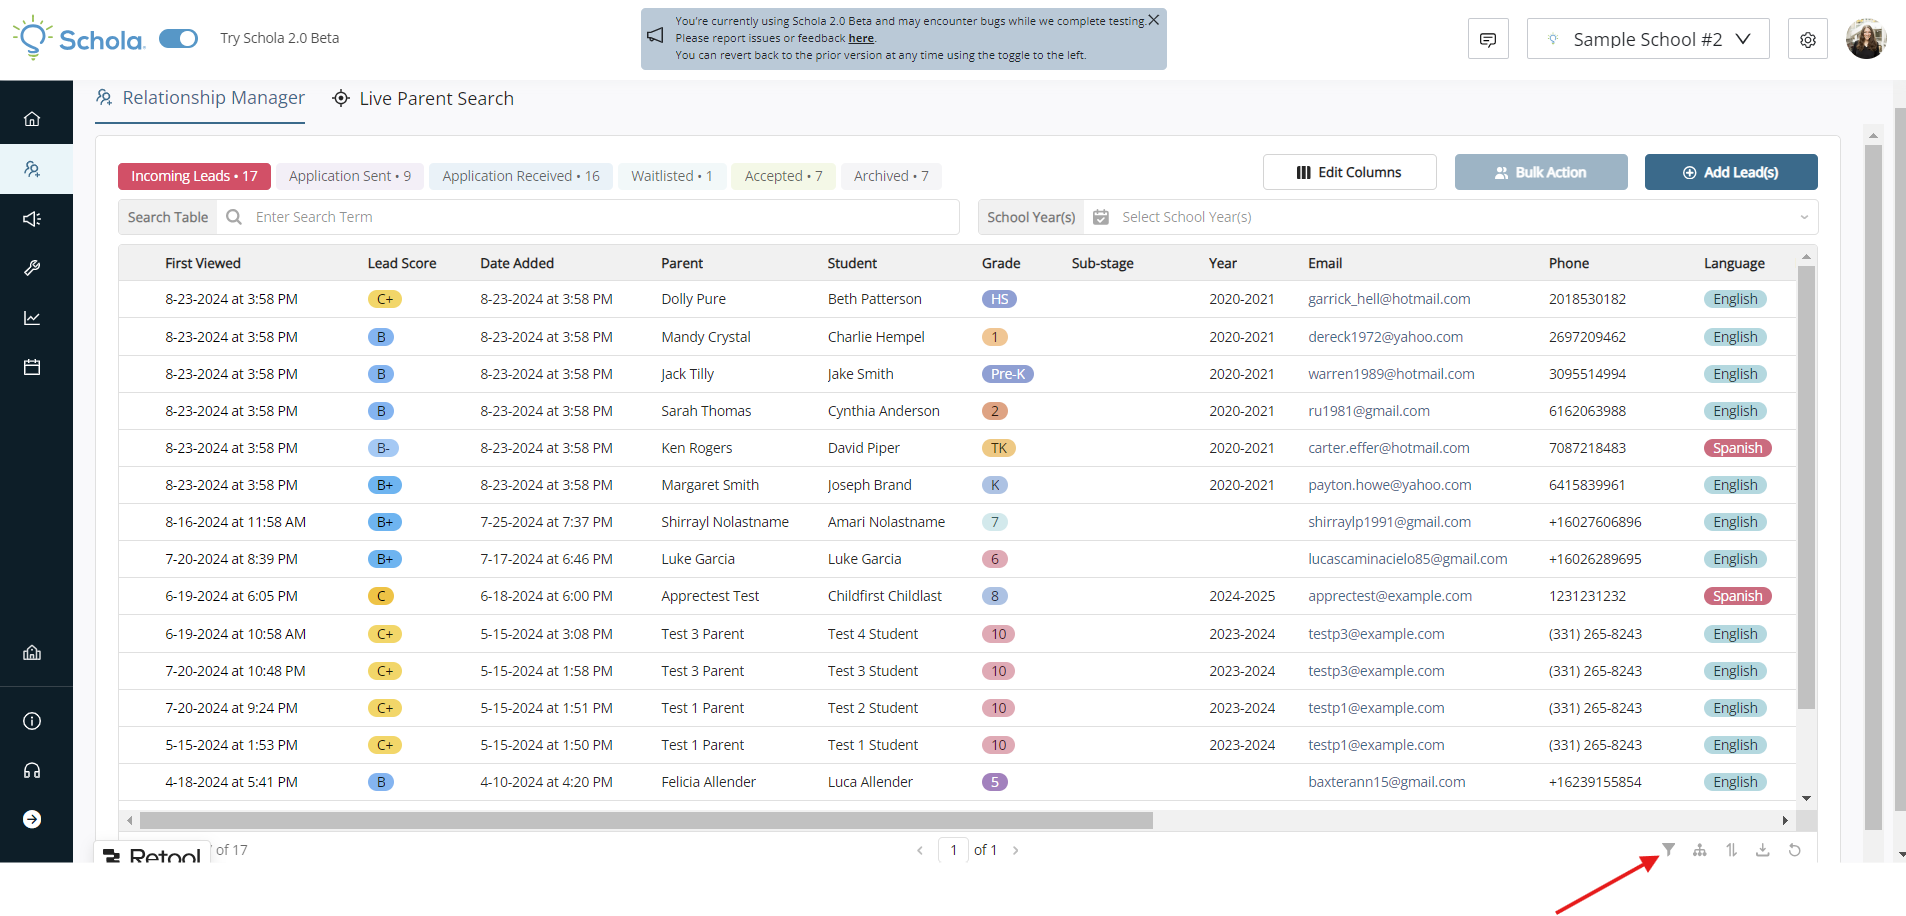
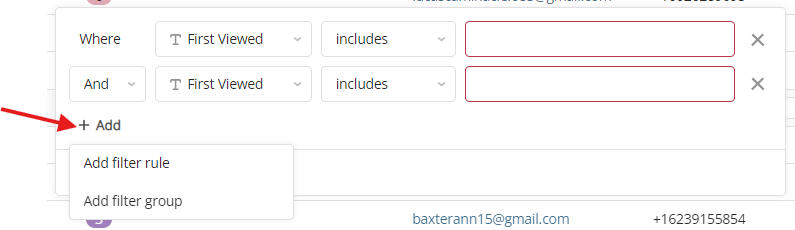
This will bring up a prompt to create filter rules or groups.
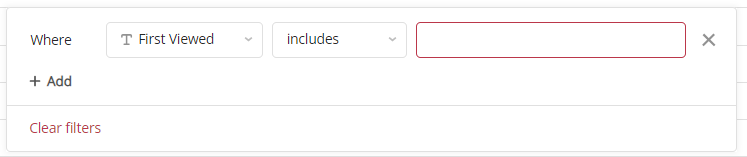
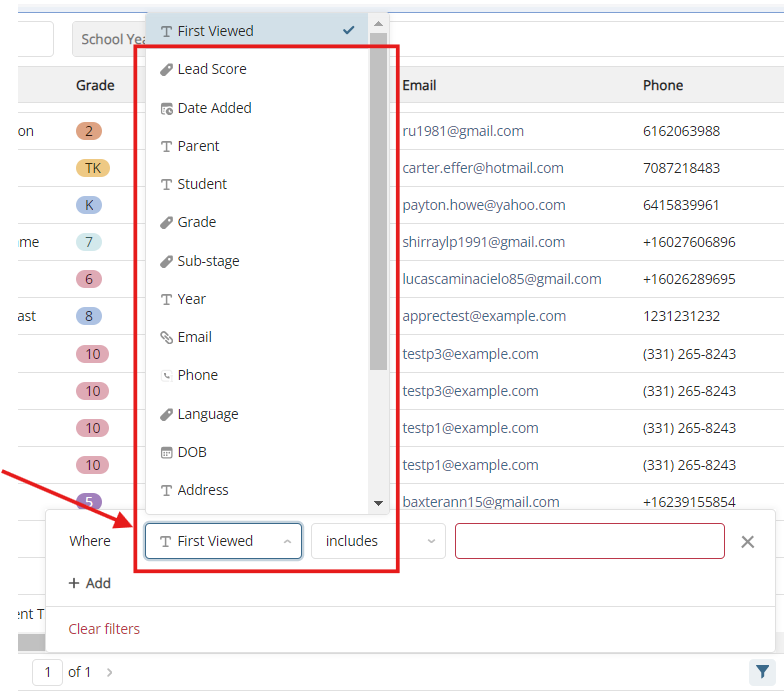
Select the field you'd like to filter for in the first box. Choices will correspond to Lead information columns.
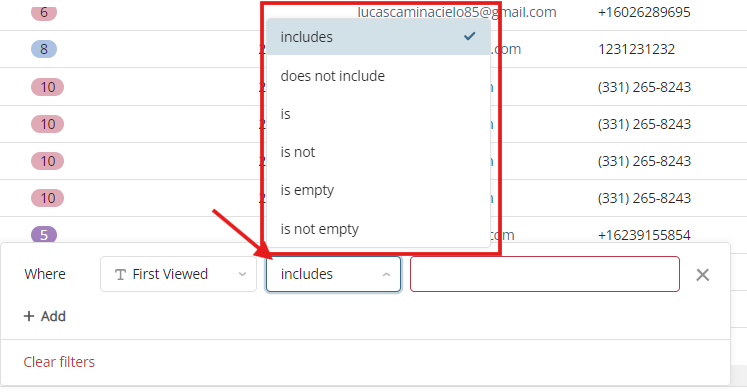
Select the function for your filter in the next box.
Finally, add the specific term you're filtering for in the last box.
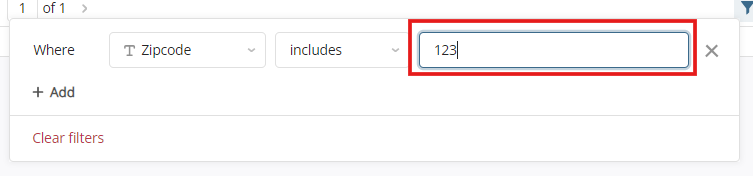
You'll see Lead records update as soon as you add the filter parameters.
You can add additional filter rules or groups by clicking the +Add button.
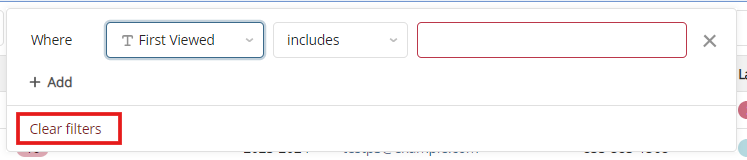
When you're done working with your filters and are ready to see all of your Leads again, click Clear Filters.
Grouping
Grouping is a great way to visualize your leads in a different way - essentially by categories based on the information included in Relationship Manager columns.
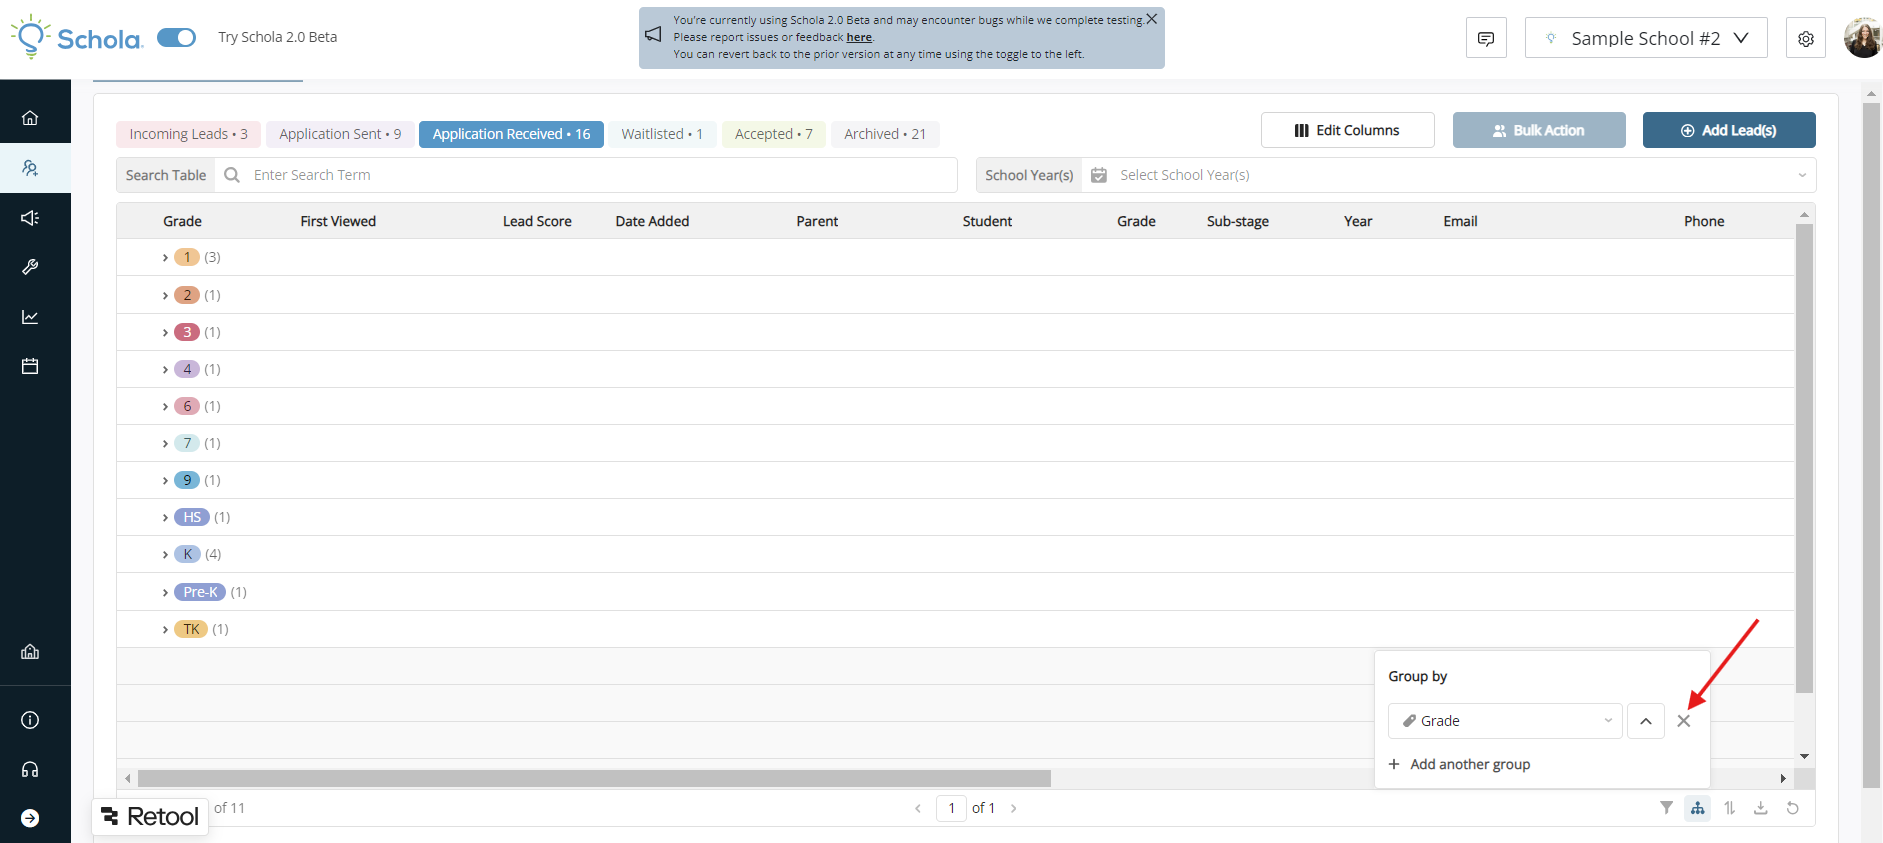
You can group Leads by clicking on the Group by icon at the bottom right of the database.
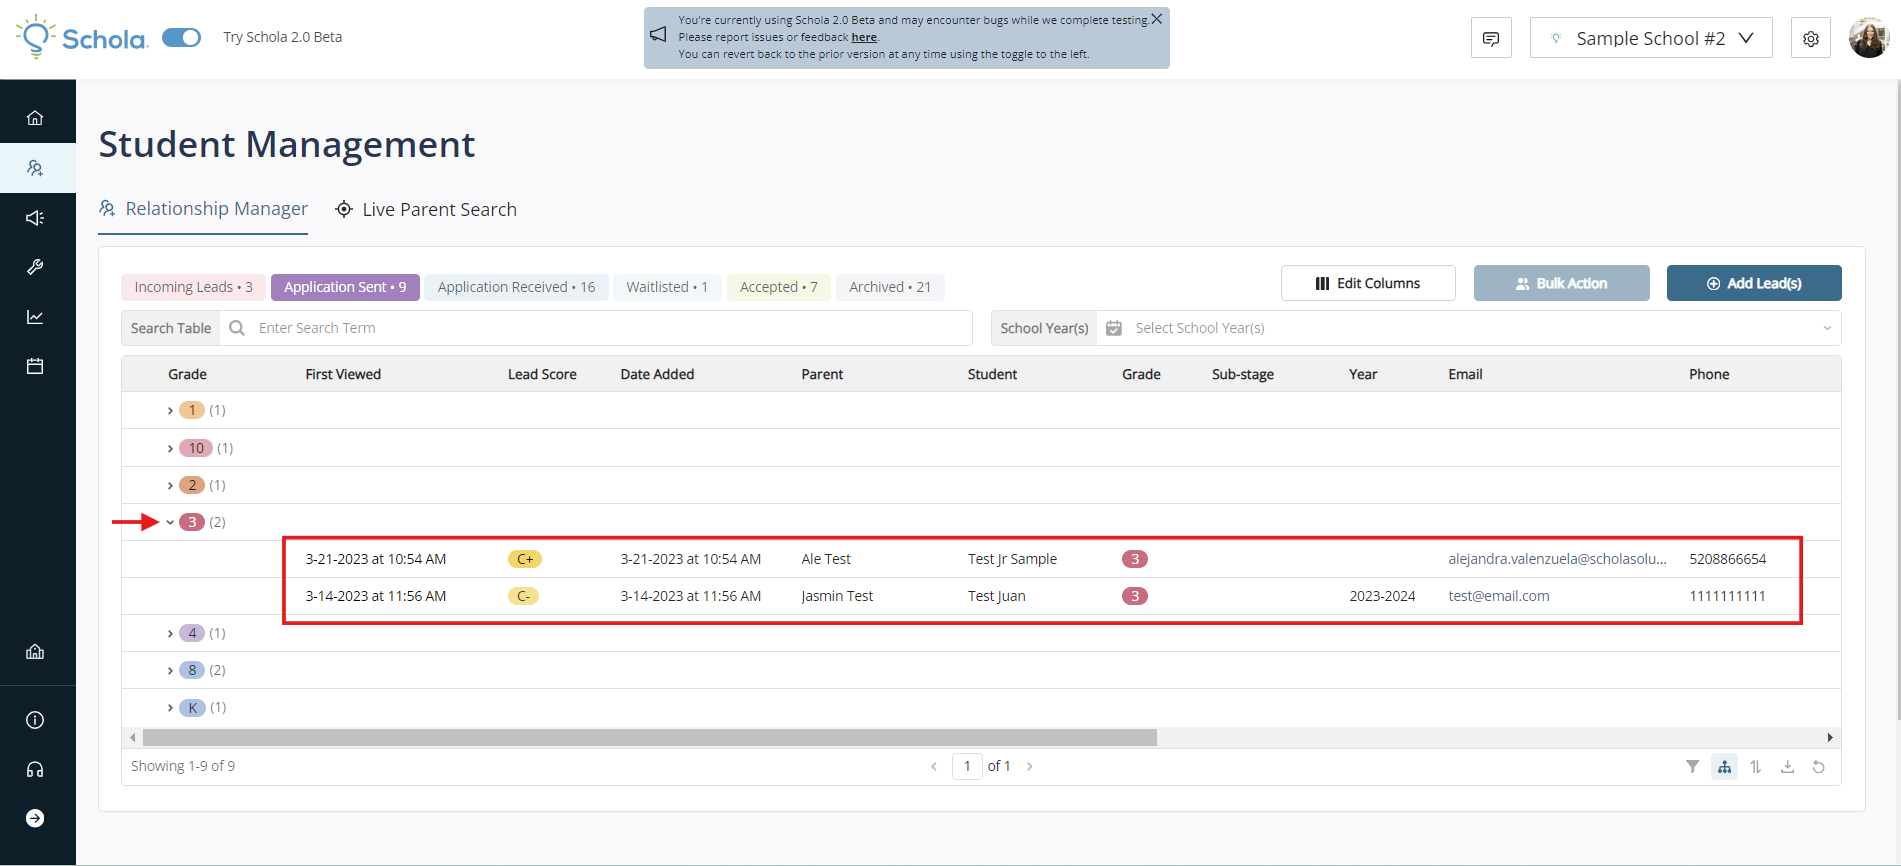
Select the column you'd like to group by, and you'll see your view change to a pivot table format, based on the parameter(s) you chose.
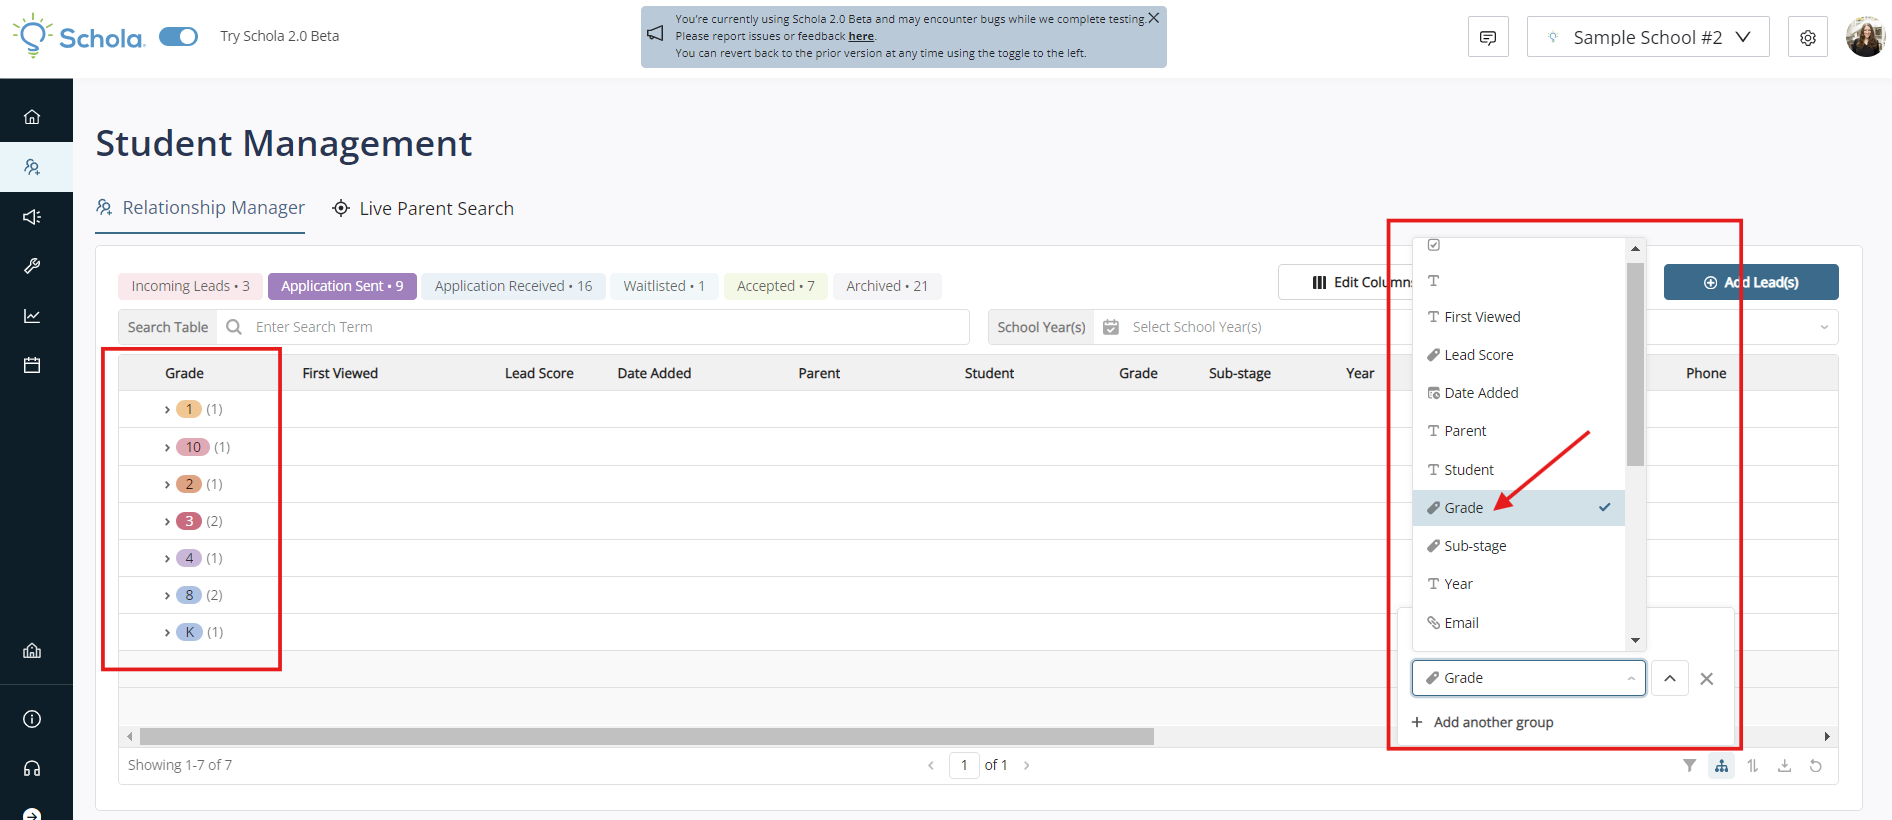
Click the arrow next to each category to see the Leads within that group.
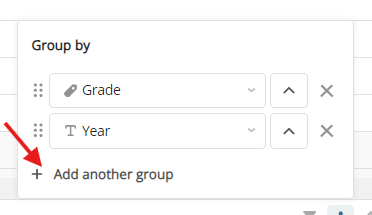
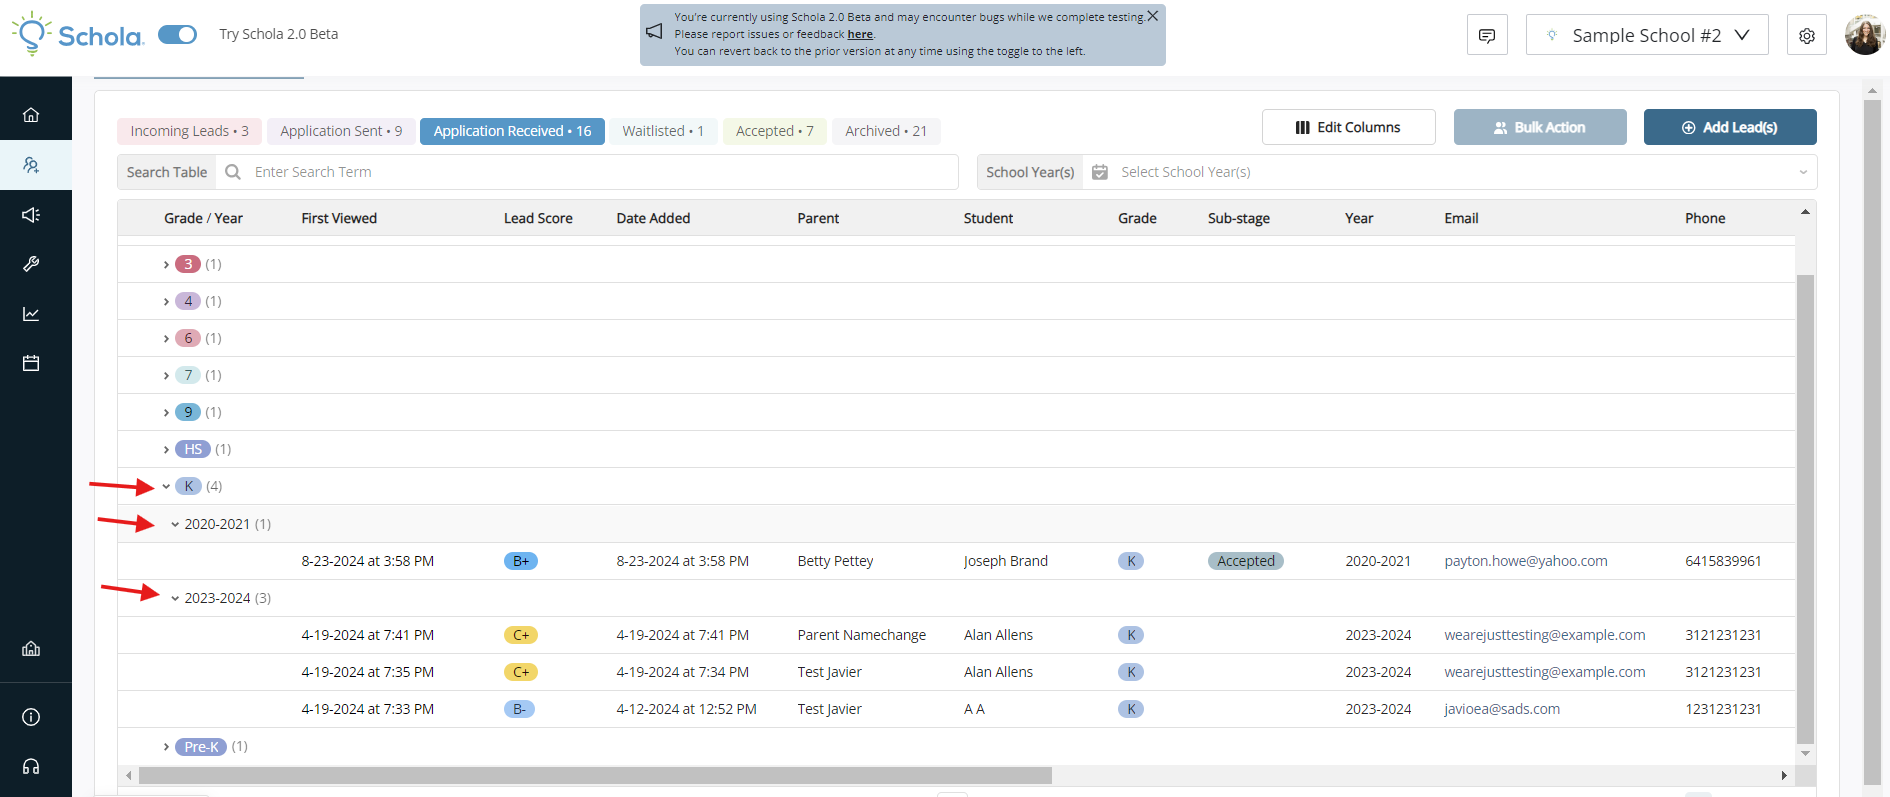
You can group by multiple parameters by clicking + Add another group.
This will add the second grouping beneath the first. View Leads within each group by clicking the arrows next to each category.
Your grouping will apply to each Stage Tab until you select the X in the Group by prompt.
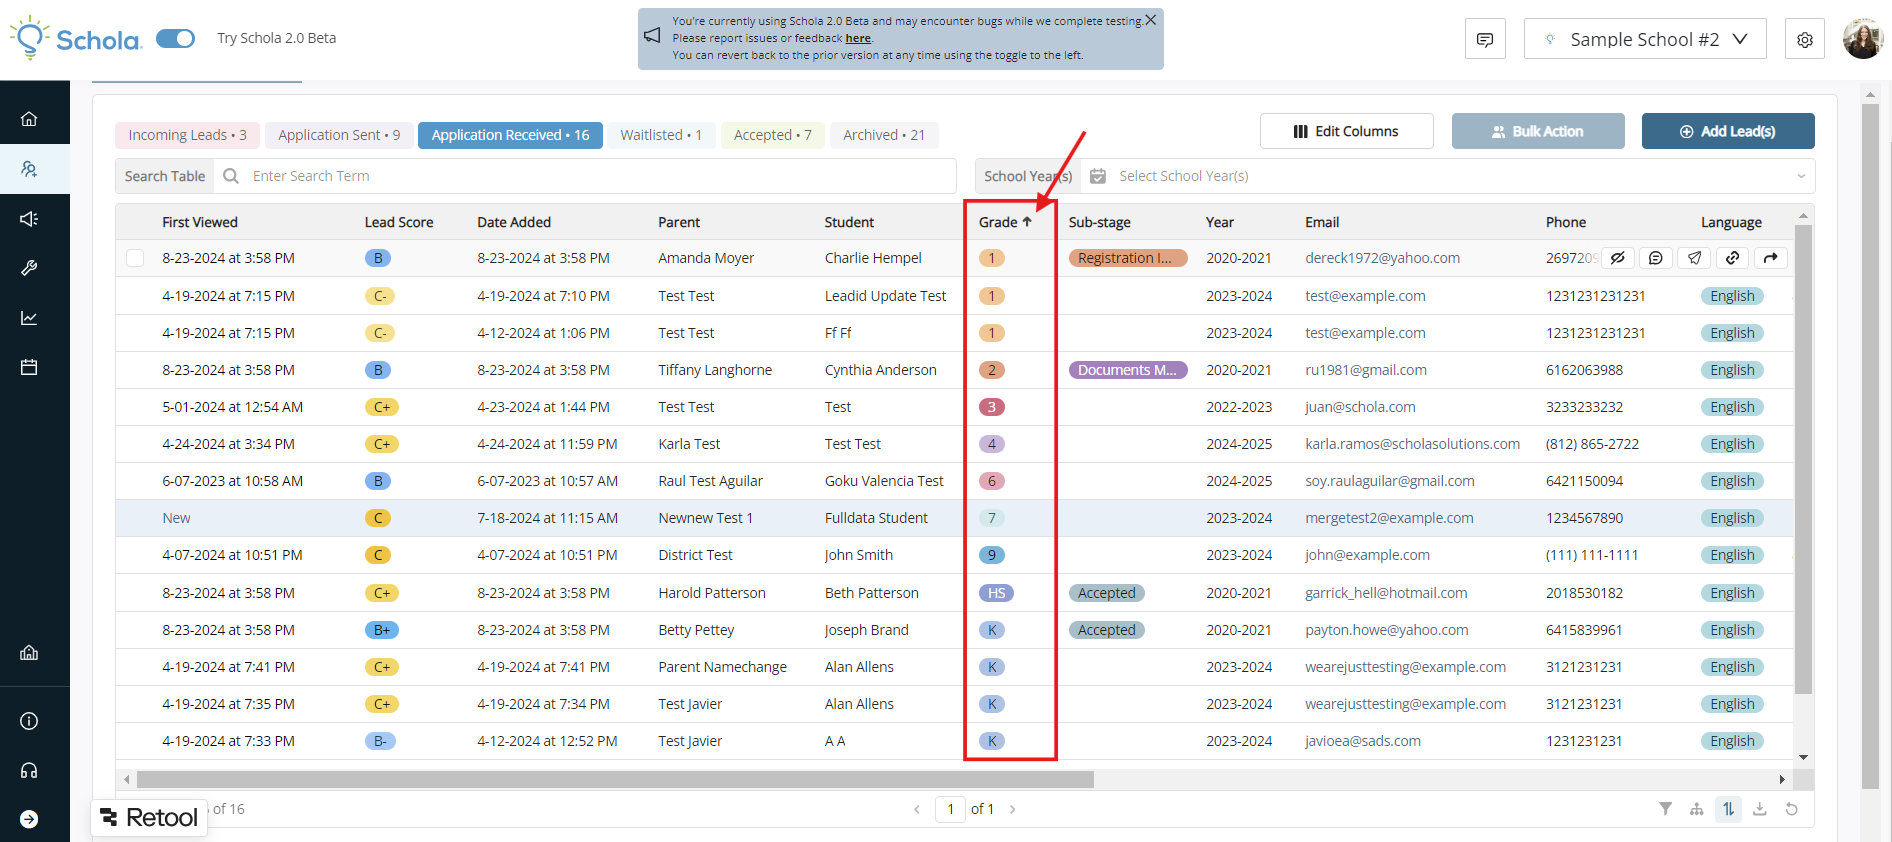
Sorting
You can sort leads by Relationship Manager columns by clicking on the Sort by icon at the bottom right of the database.
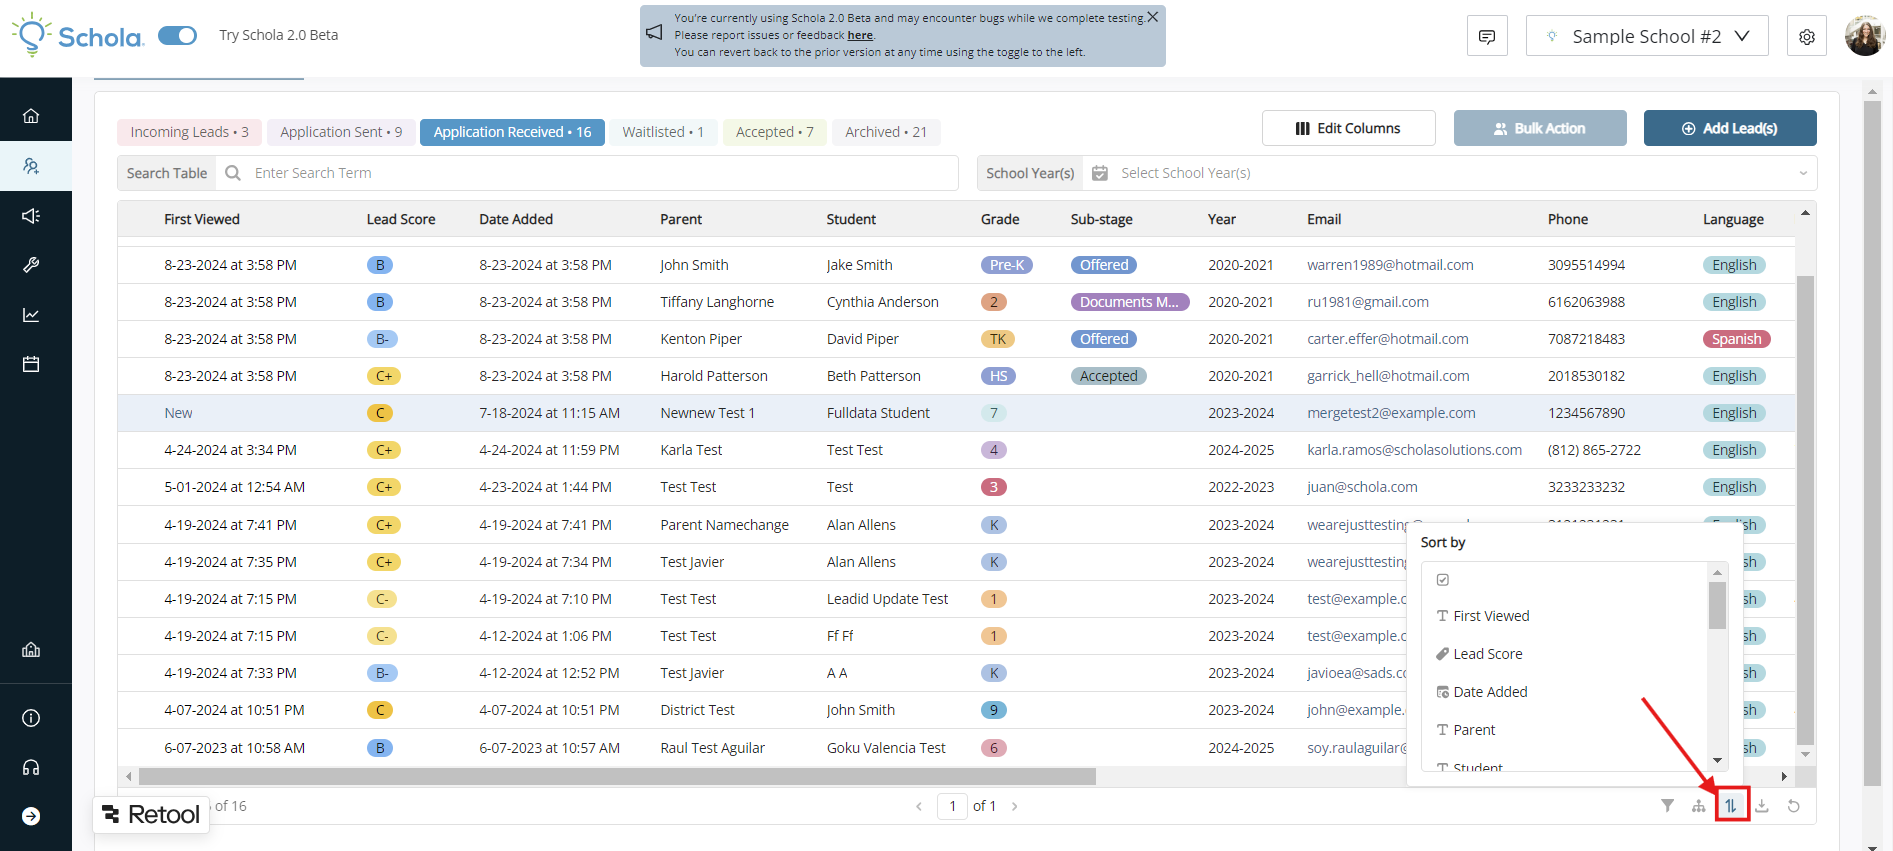
Note: You can also sort by clicking directly on the column title you'd like to sort by.