This tutorial guides you through how to set up and view your organization settings on the Assembly platform for Organizations. By following this guide, you'll configure essential organization information, manage categories, forms, payments, roles, and sites for your organization.
Step 1: Navigate to the Organization Settings page at the bottom left corner of the navigation path.
Here, you'll find tabs for organizational info, categories, forms, payments, roles and permissions, and sites.
Step 2: Click the Organizational Info tab.
This tab displays key organization information needed to create and publish your first program, such as name, type, email, phone, address, primary age range served, time zone, website, and an optional monthly revenue target.
Step 3: Scroll down to the Program Profile page.
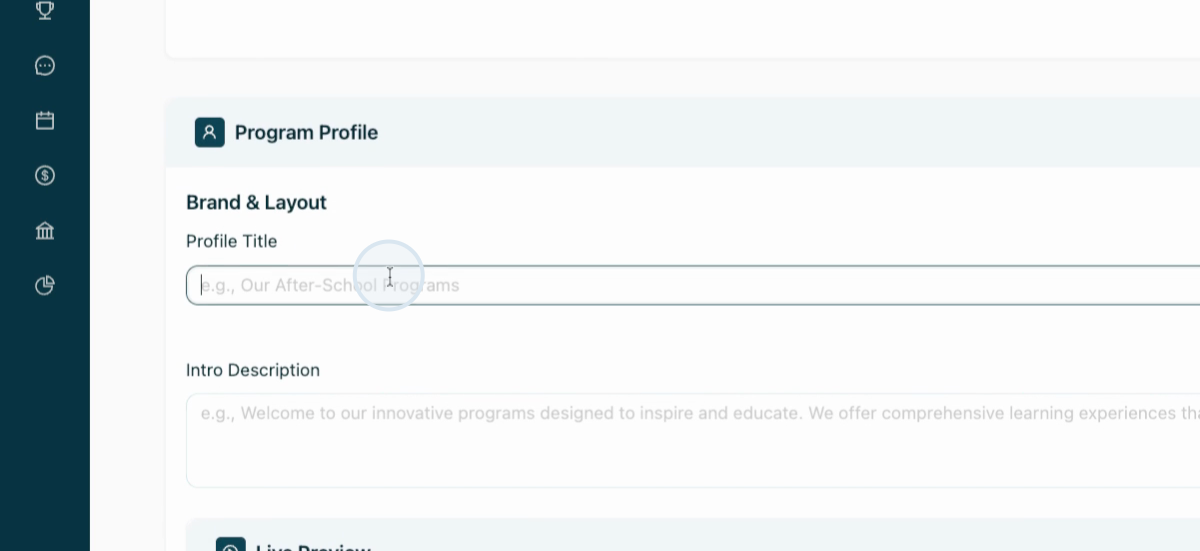
Set the color scheme, intro description, and profile title for your main Program Profile. This catalog page displays all programs linked to your organization. Copy the embed code here to include it on your website.
Step 4: Scroll up and click the Categories tab.

Add and view default program type categories.


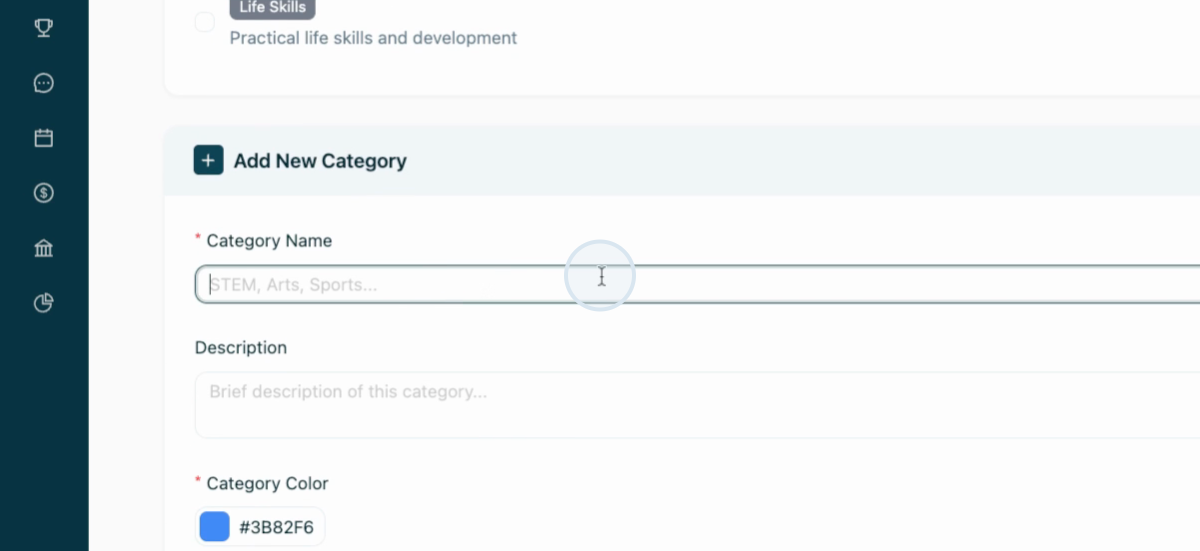
Customize categories by adding descriptions and assigning colors. The color appears on the Programs public page for participants.
Step 5: Go to the Forms page.
For more form-related guidance, see the form creation and management tutorial.
Step 6: Click the Payments page.
Configure your bank account, payouts, and business profile here. This section enables you to add and configure your payment information for processing payments with our secure PCI-compliant Stripe portal. For extra details, view the payments tutorial.
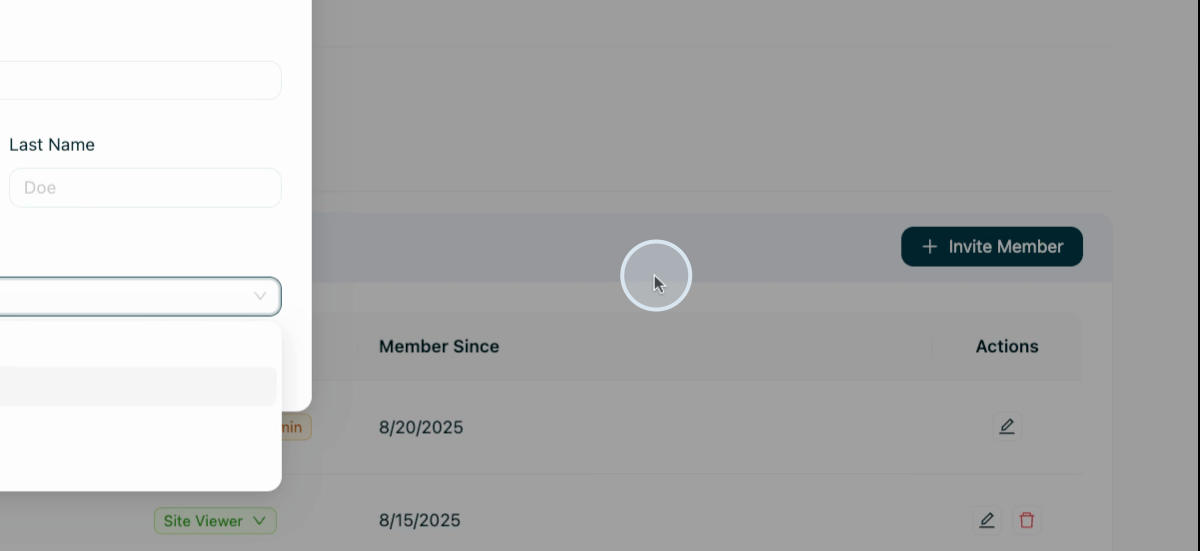
Step 7: Open the Roles and Permissions page.
Invite team members to your organization and assign roles.

Roles: site admin, organization admin, site user, and site viewer, each with distinct access levels and permissions.
Step 8: Visit the Sites page.
Your Schola Customer Success Manager configures your sites needed with your Assembly plan.
That's all for setting up organization settings in Assembly!