In this tutorial, you'll learn how to create and manage forms for participants in your program on Assembly.
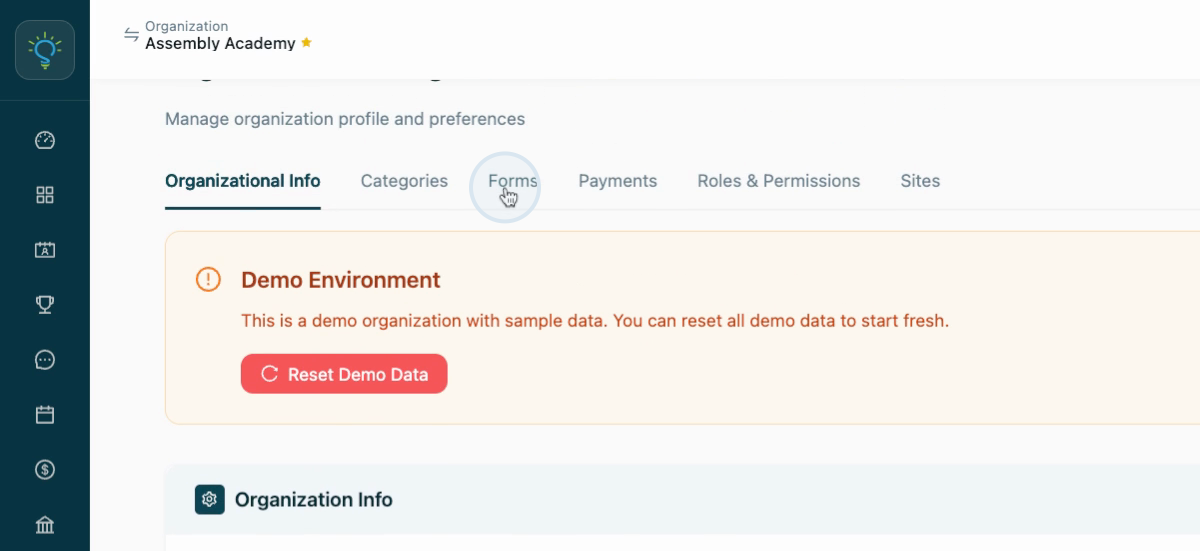
Step 1: Navigate to the Organization Settings option located at the bottom left corner of your dashboard page.
Step 2: Once you're in Organization Settings, you'll see various options. Select Forms to manage your forms.
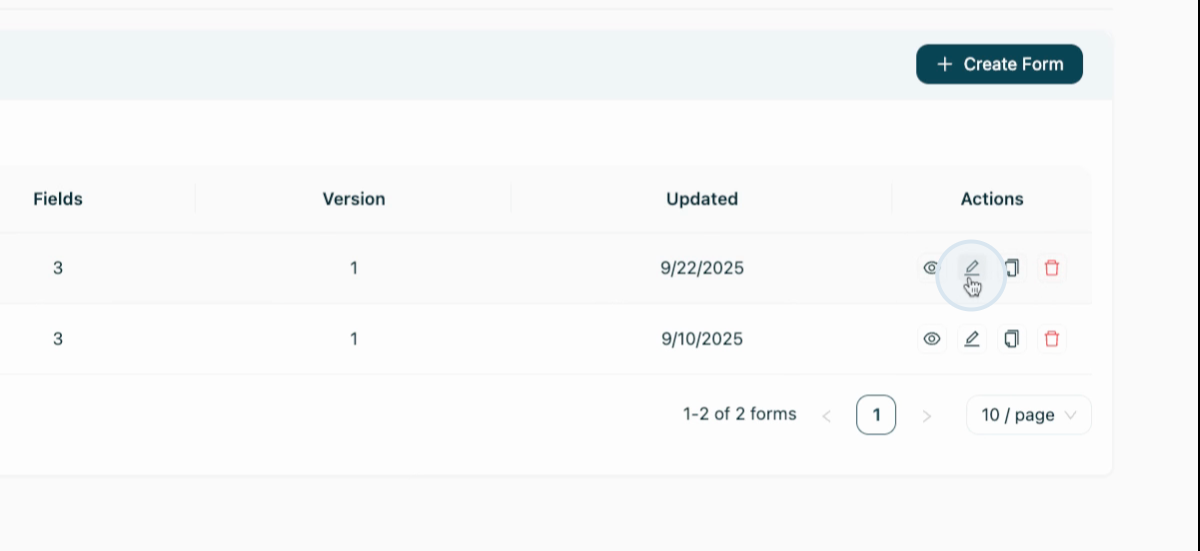
Step 3: In the Forms section, you'll see all your existing forms. You have the option to view, edit, copy, or delete a form. Let's edit a form for this tutorial.
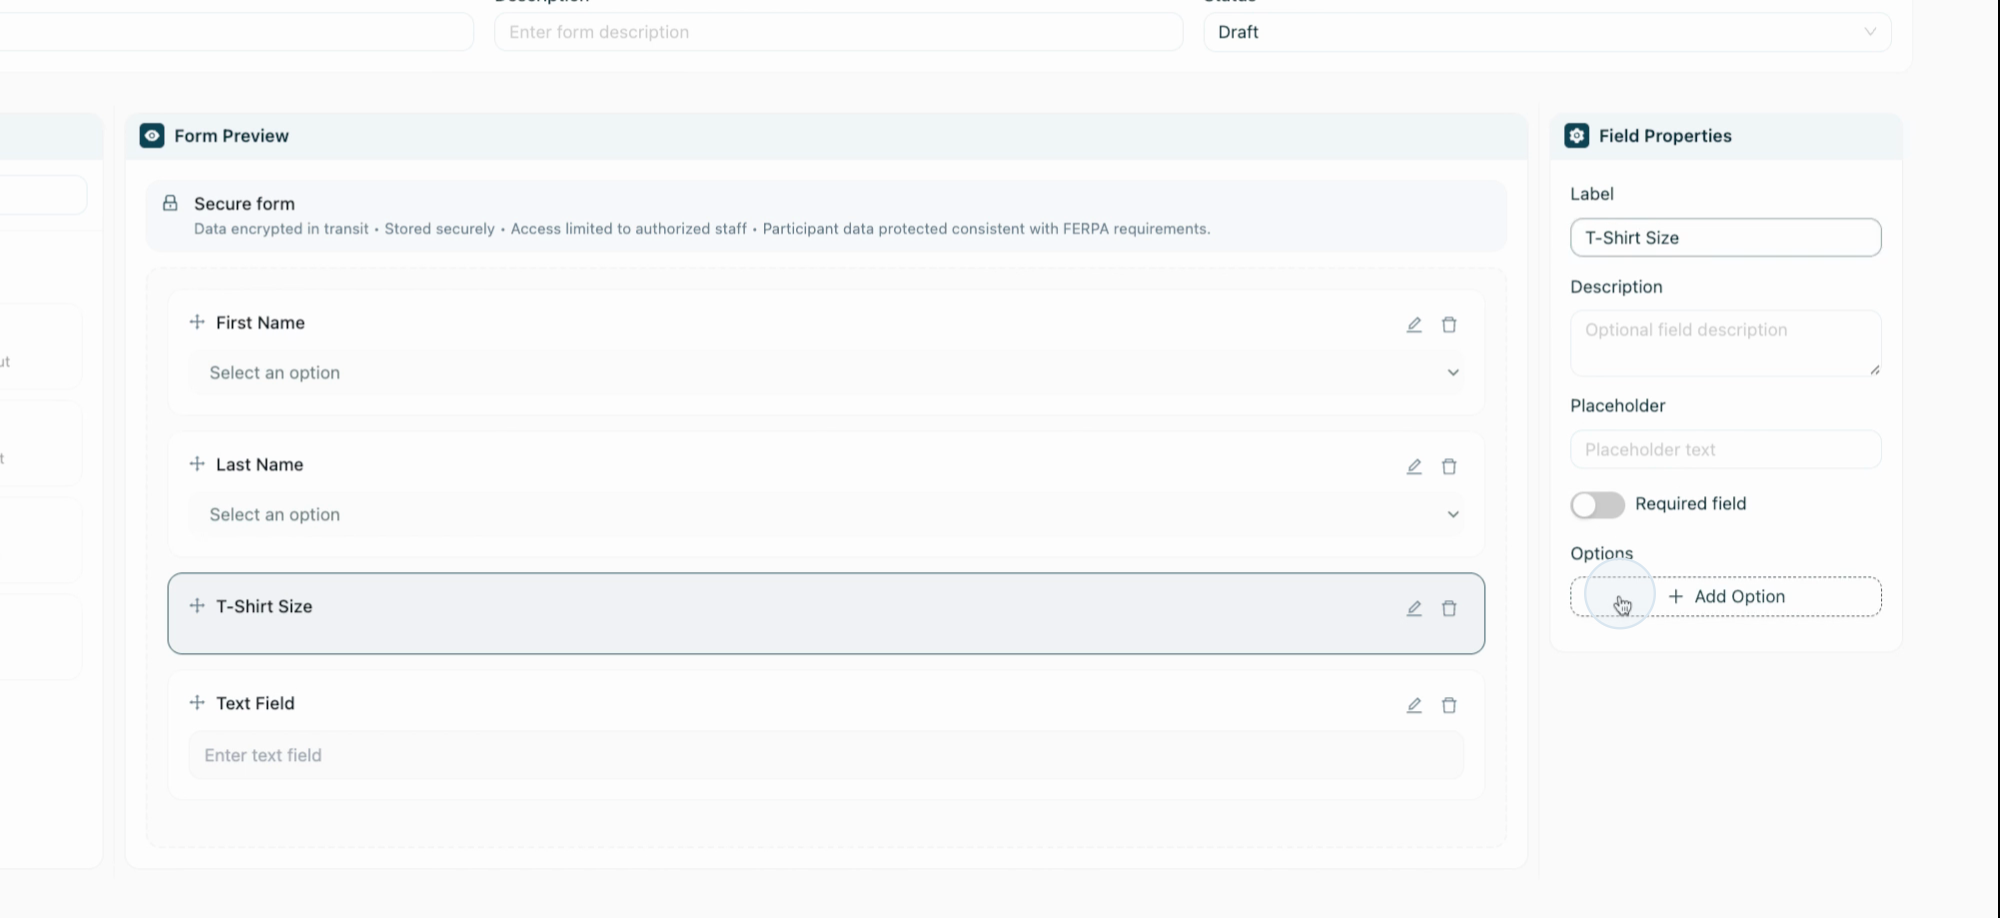
Step 4: You're now in the Form Builder. This tool allows you to customize your form as needed.

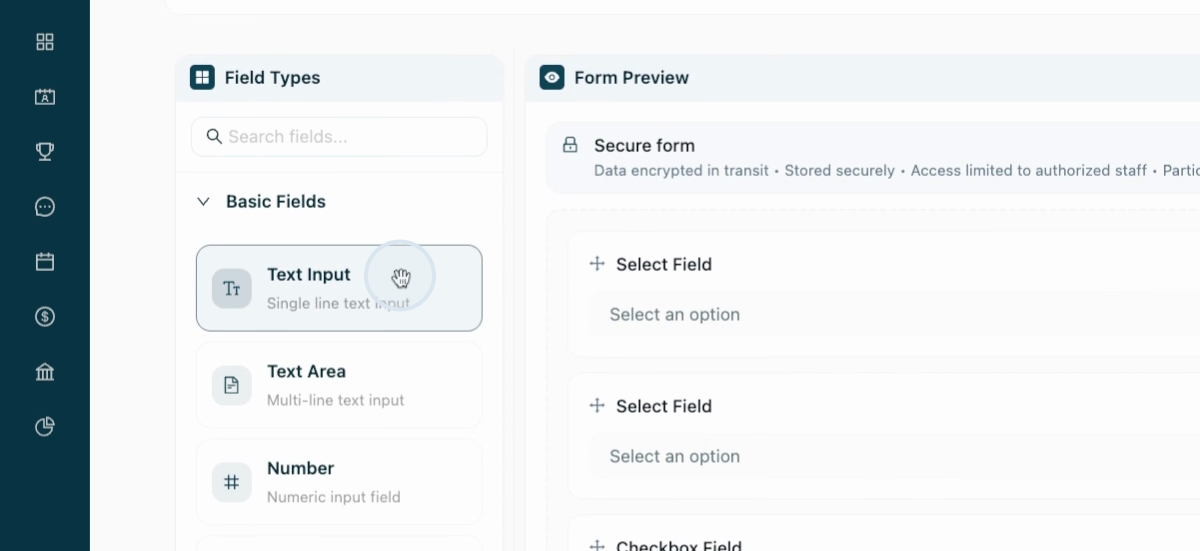
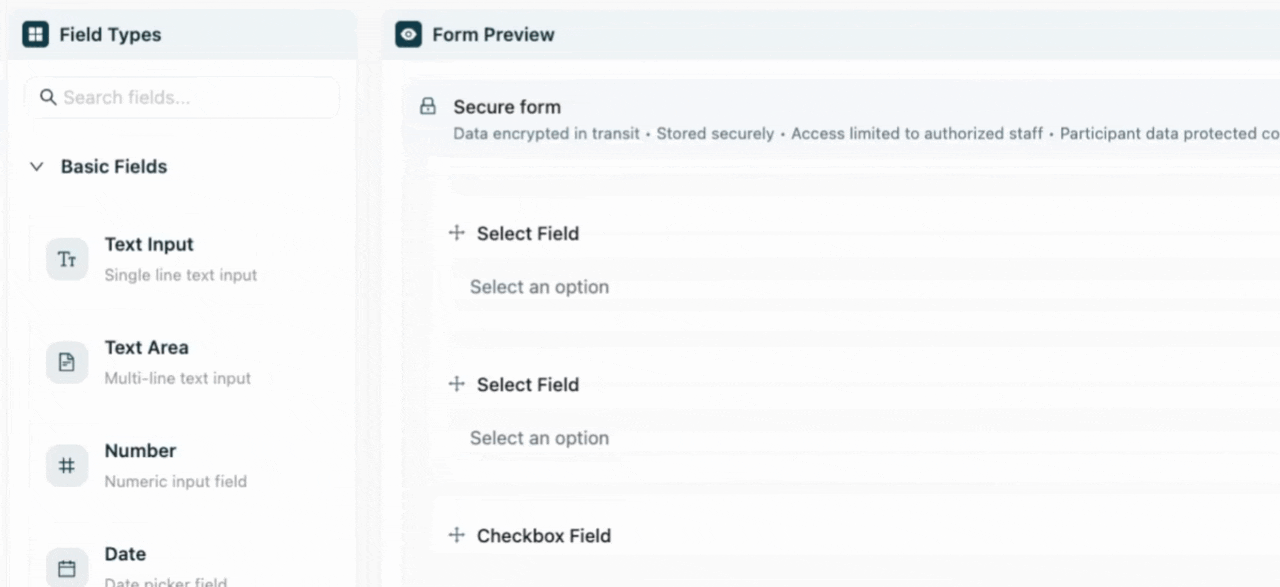
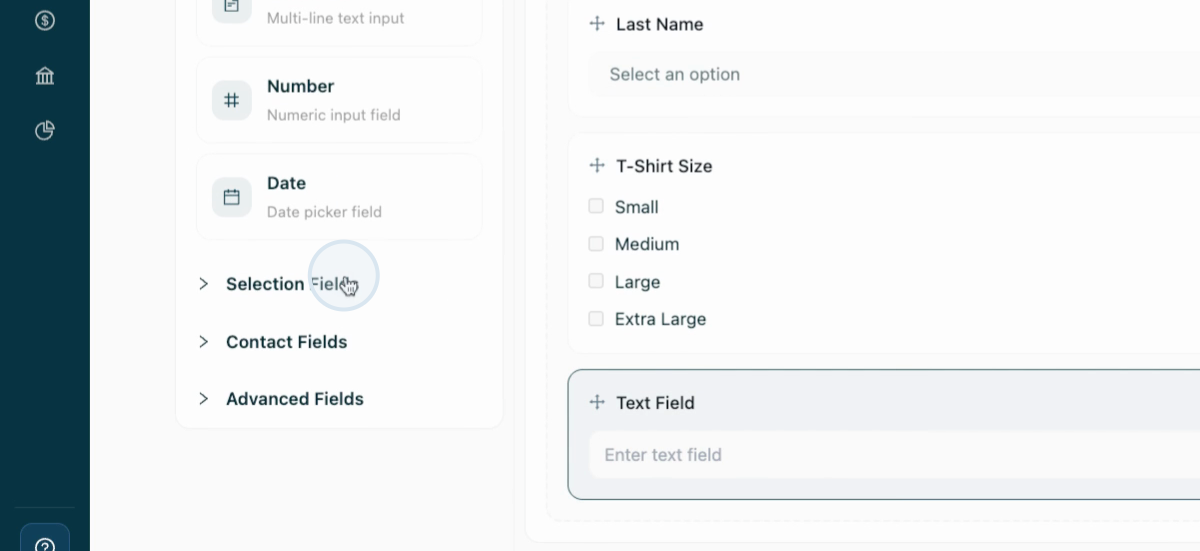
Step 5: Select the fields you need for your form. You can drag and drop these fields into your form.
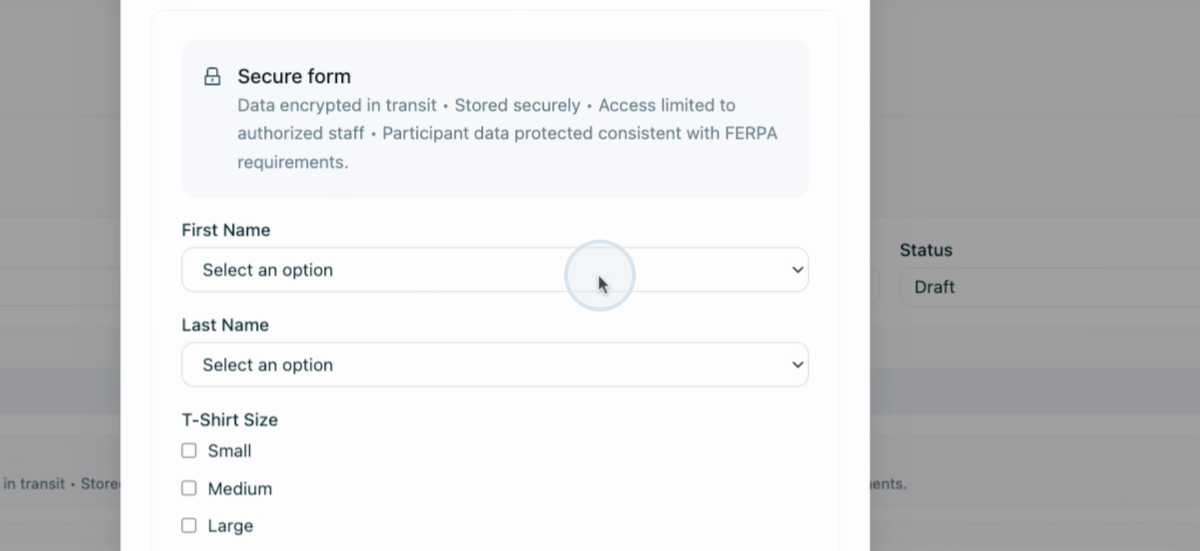
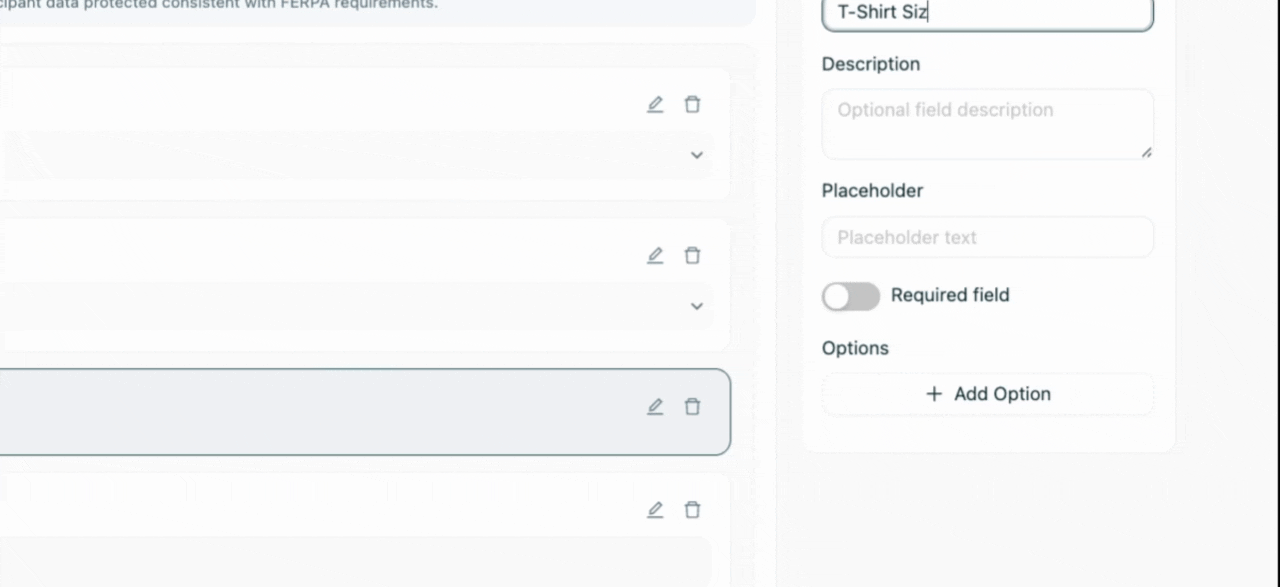
Step 6: Rename the label of your fields. For instance, the first field can be renamed as "First Name".
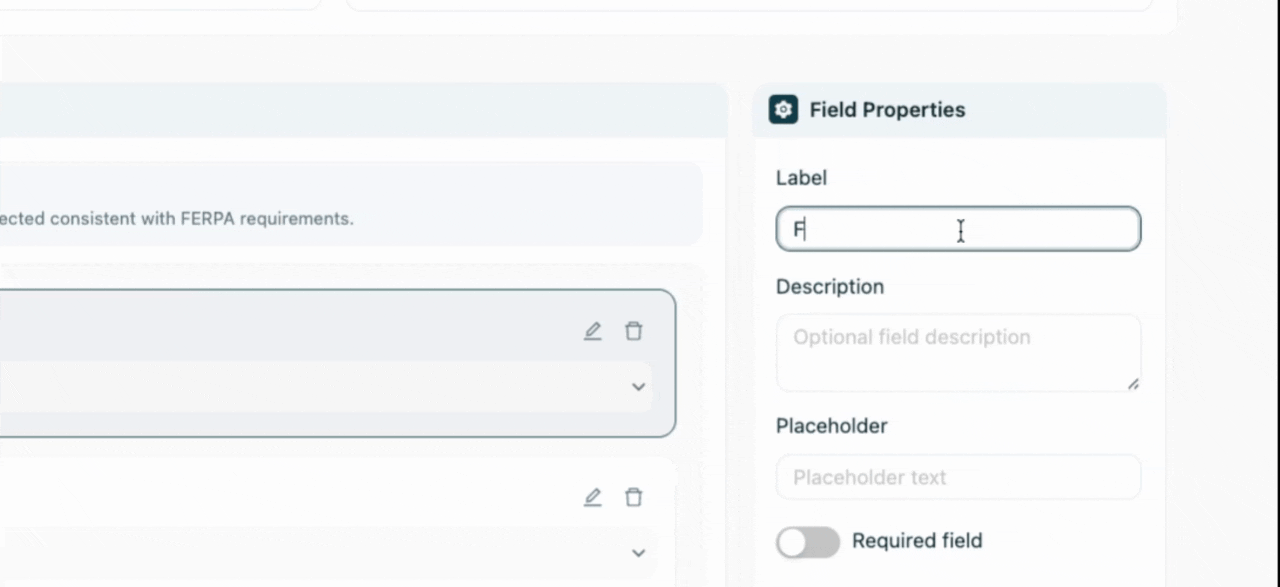
Step 7: Continue renaming other fields. For example, the second field can be renamed as "Last Name".
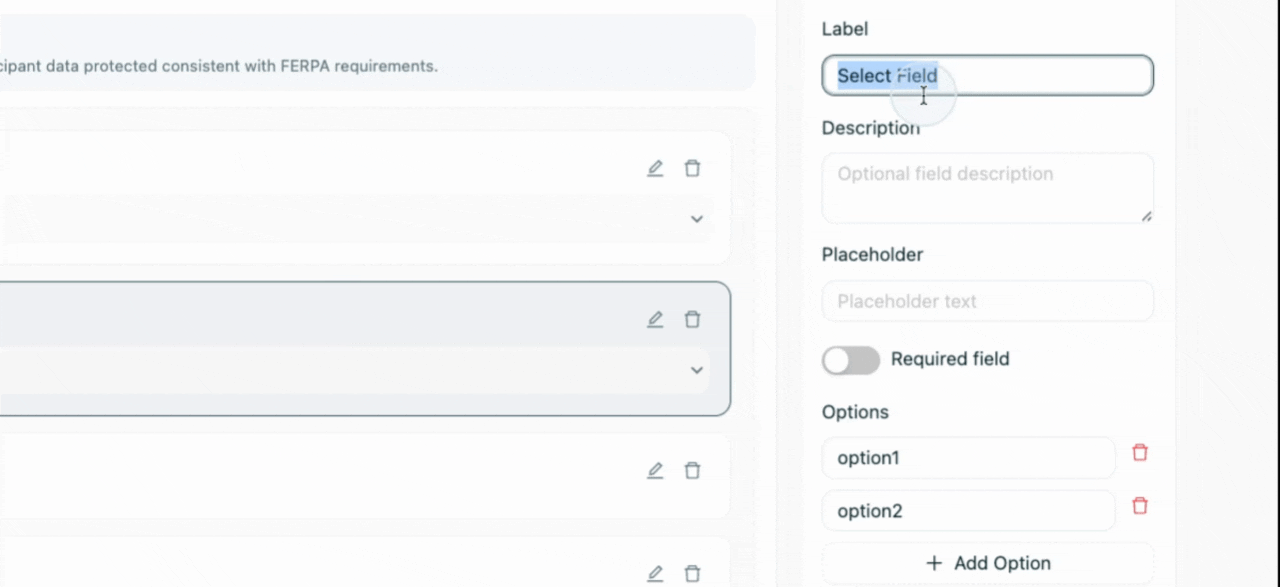
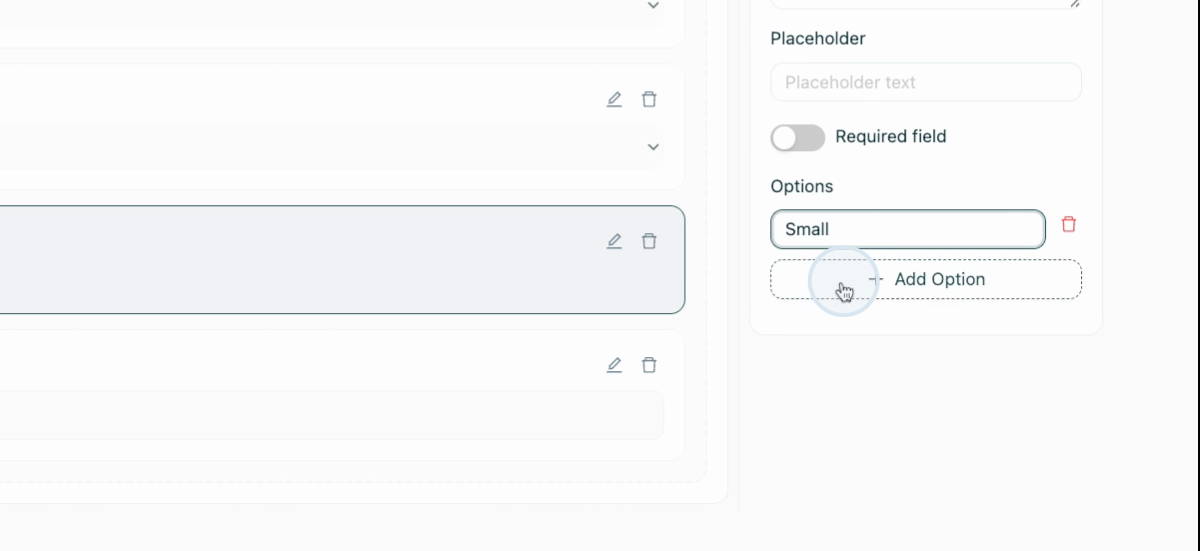
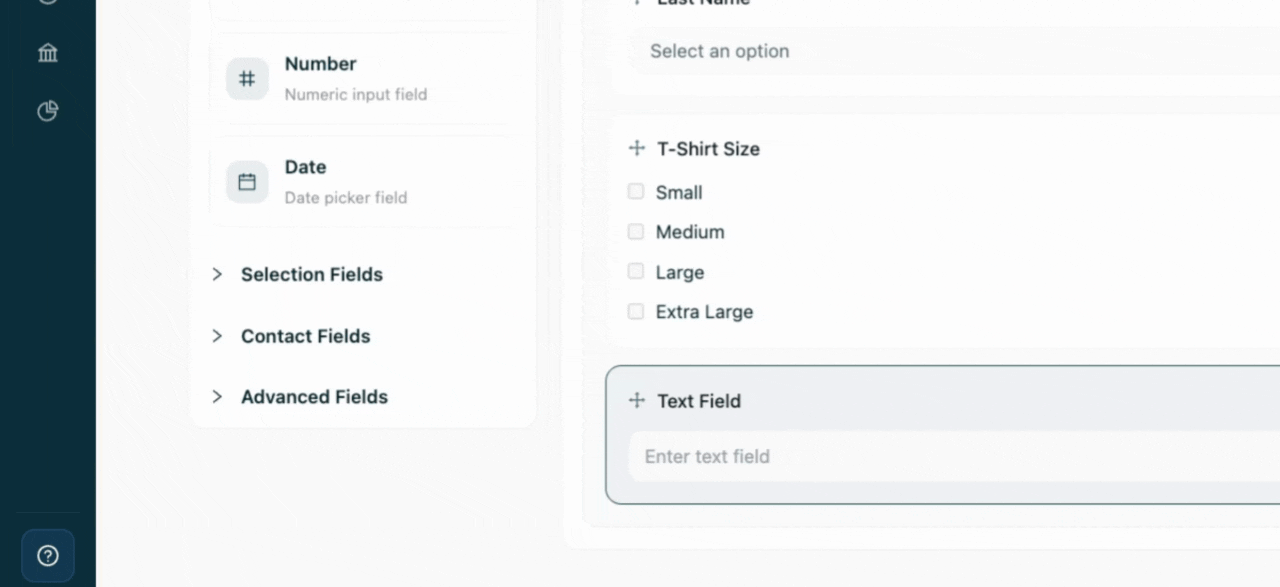
Step 8: You can add checkbox fields to your form. These can be used for options like T-shirt or jersey sizes.
Step 9: Add options to your checkbox fields. For example, you can add sizes like "Small", "Medium", "Large", and "Extra Large".
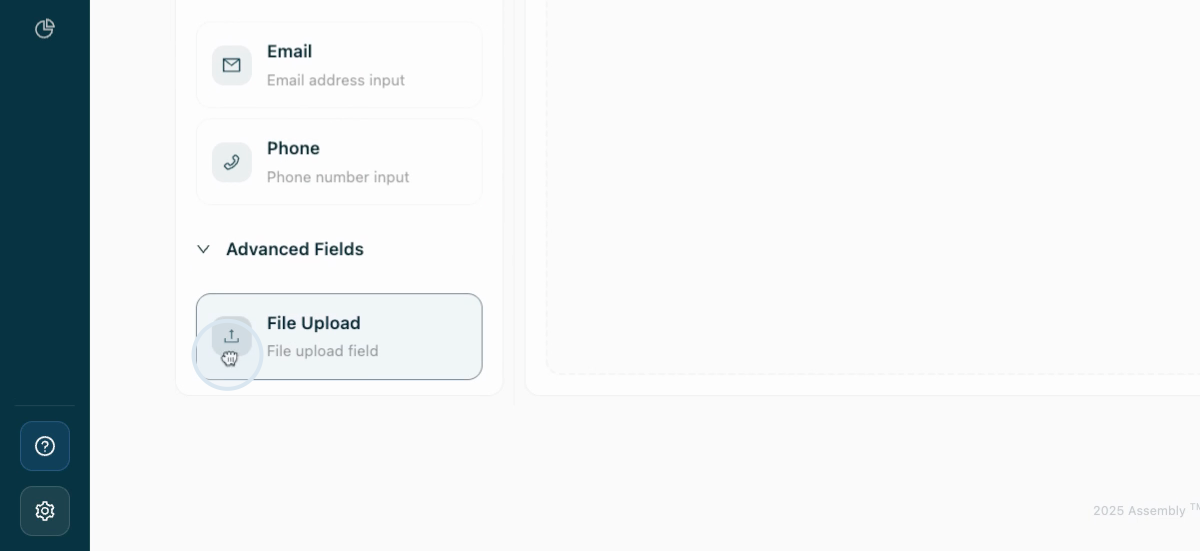
Step 10: You can add additional fields to your form. These can be dropdowns, multi-select checkboxes, radio buttons, contact fields like email and phone number, or advanced fields like file uploads.
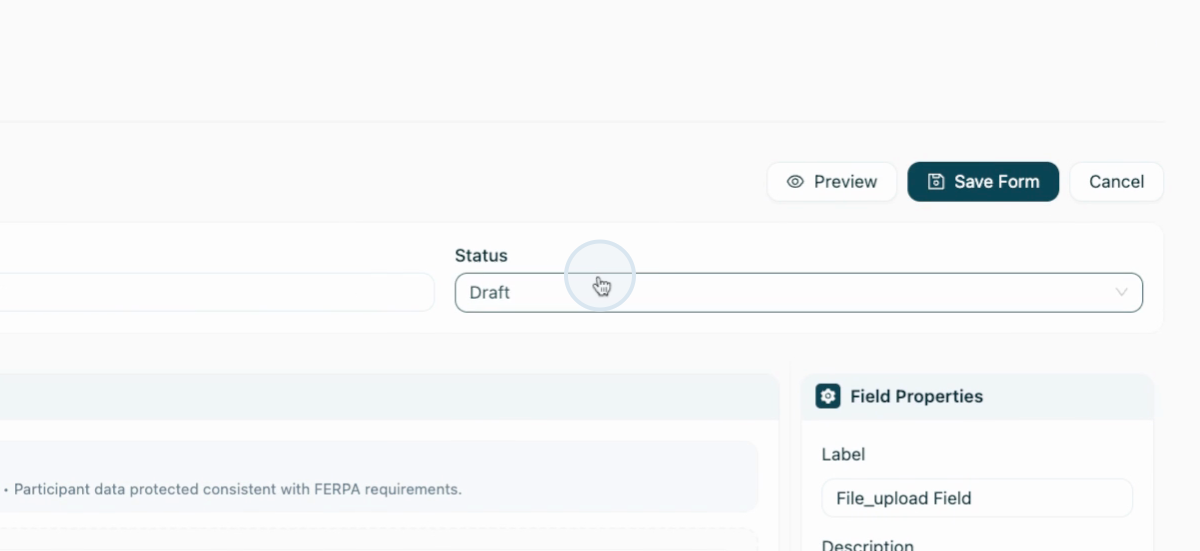
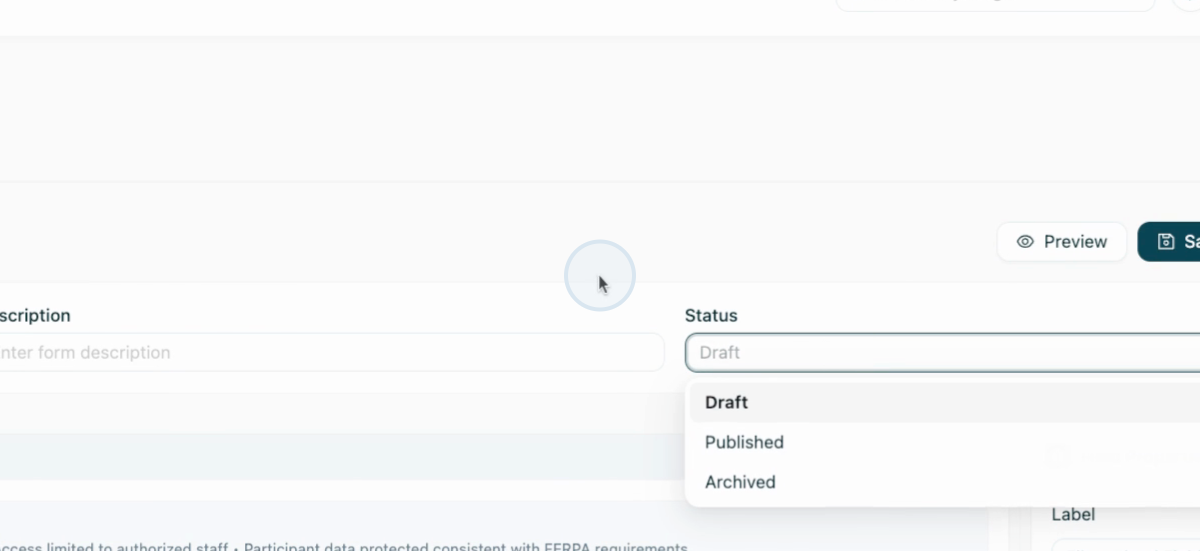
Step 11: Once you're done creating your form, give it a name, a description, and set its status. If the status is set to "Published", it can be used in your program creation flow.
Step 12: You can preview your form to see how it will appear to participants enrolling in your program. To complete your form, select Save Form. Your form can now successfully be added to your programs!